I've been making small changes around the house. The two most notable changes are detailed below: my dresser and our bedroom blinds. Before pictures included!
Read MoreDIY Wooden Bead Garland
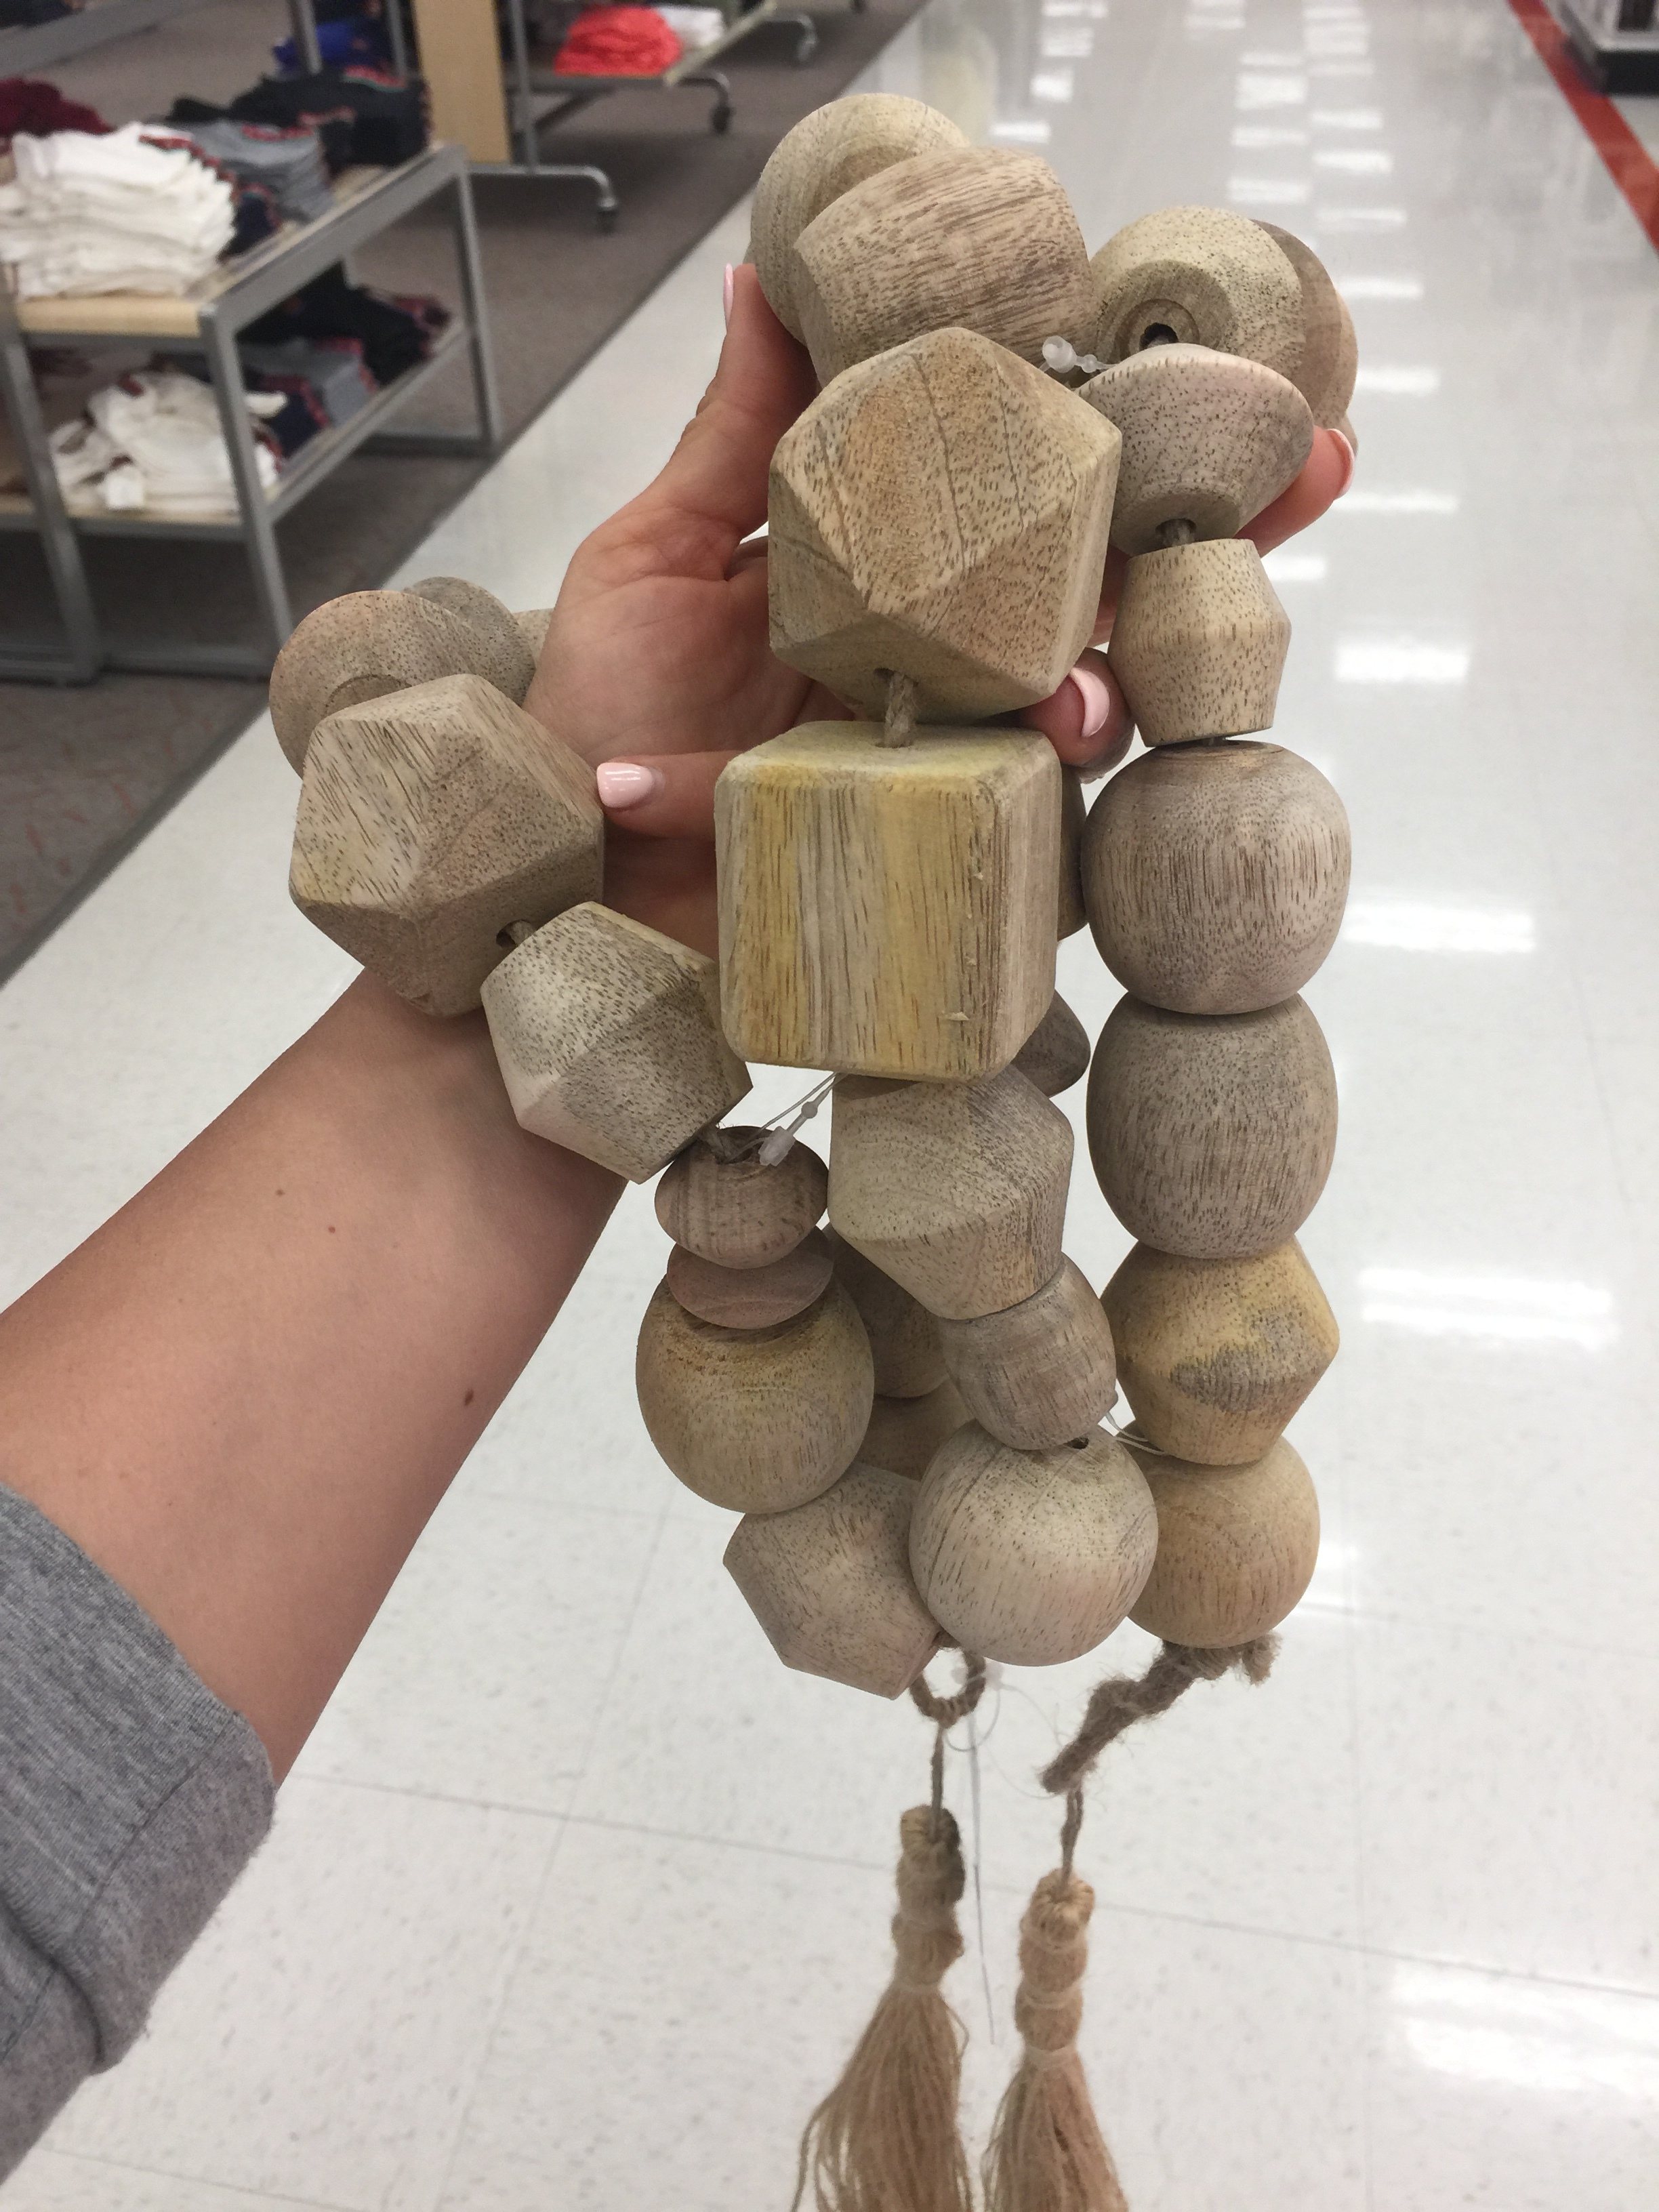
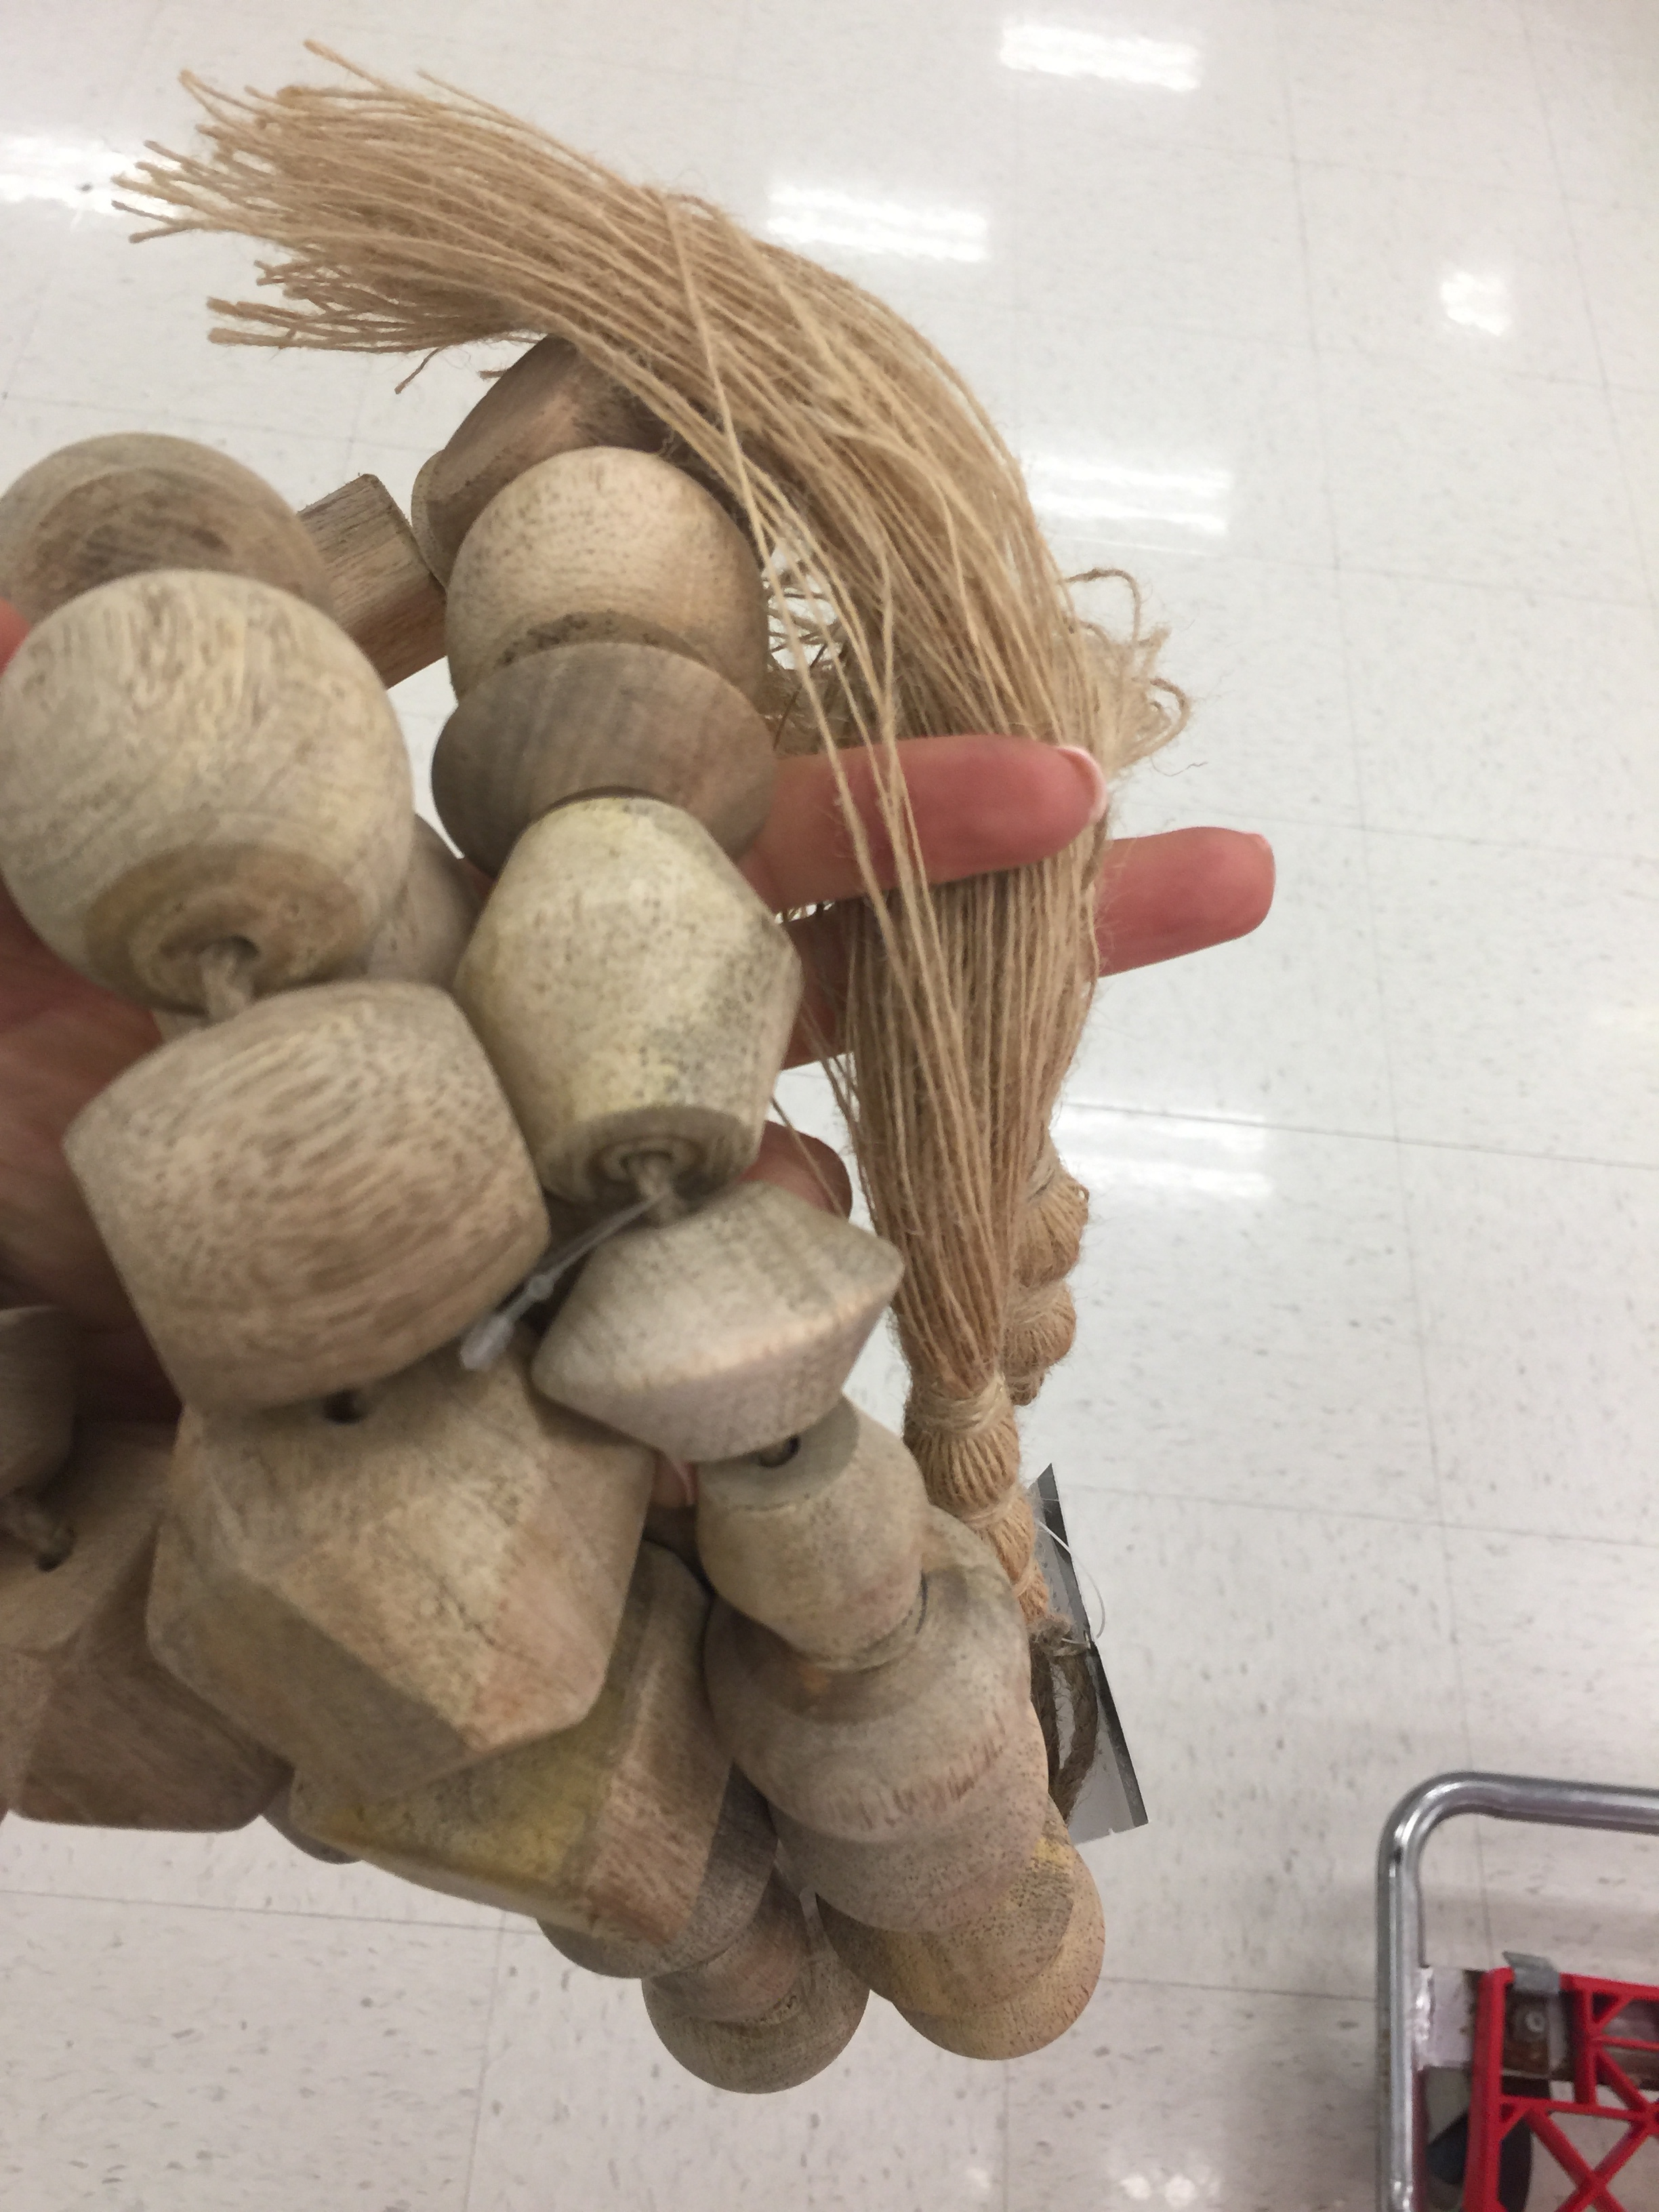
Trend alert I have been seeing wood garland pop up all over the place – mostly in styled interiors on Instagram, but most recently available at Target in their new bohemnian Spring line (I actually don’t like they version AT ALL - see below).
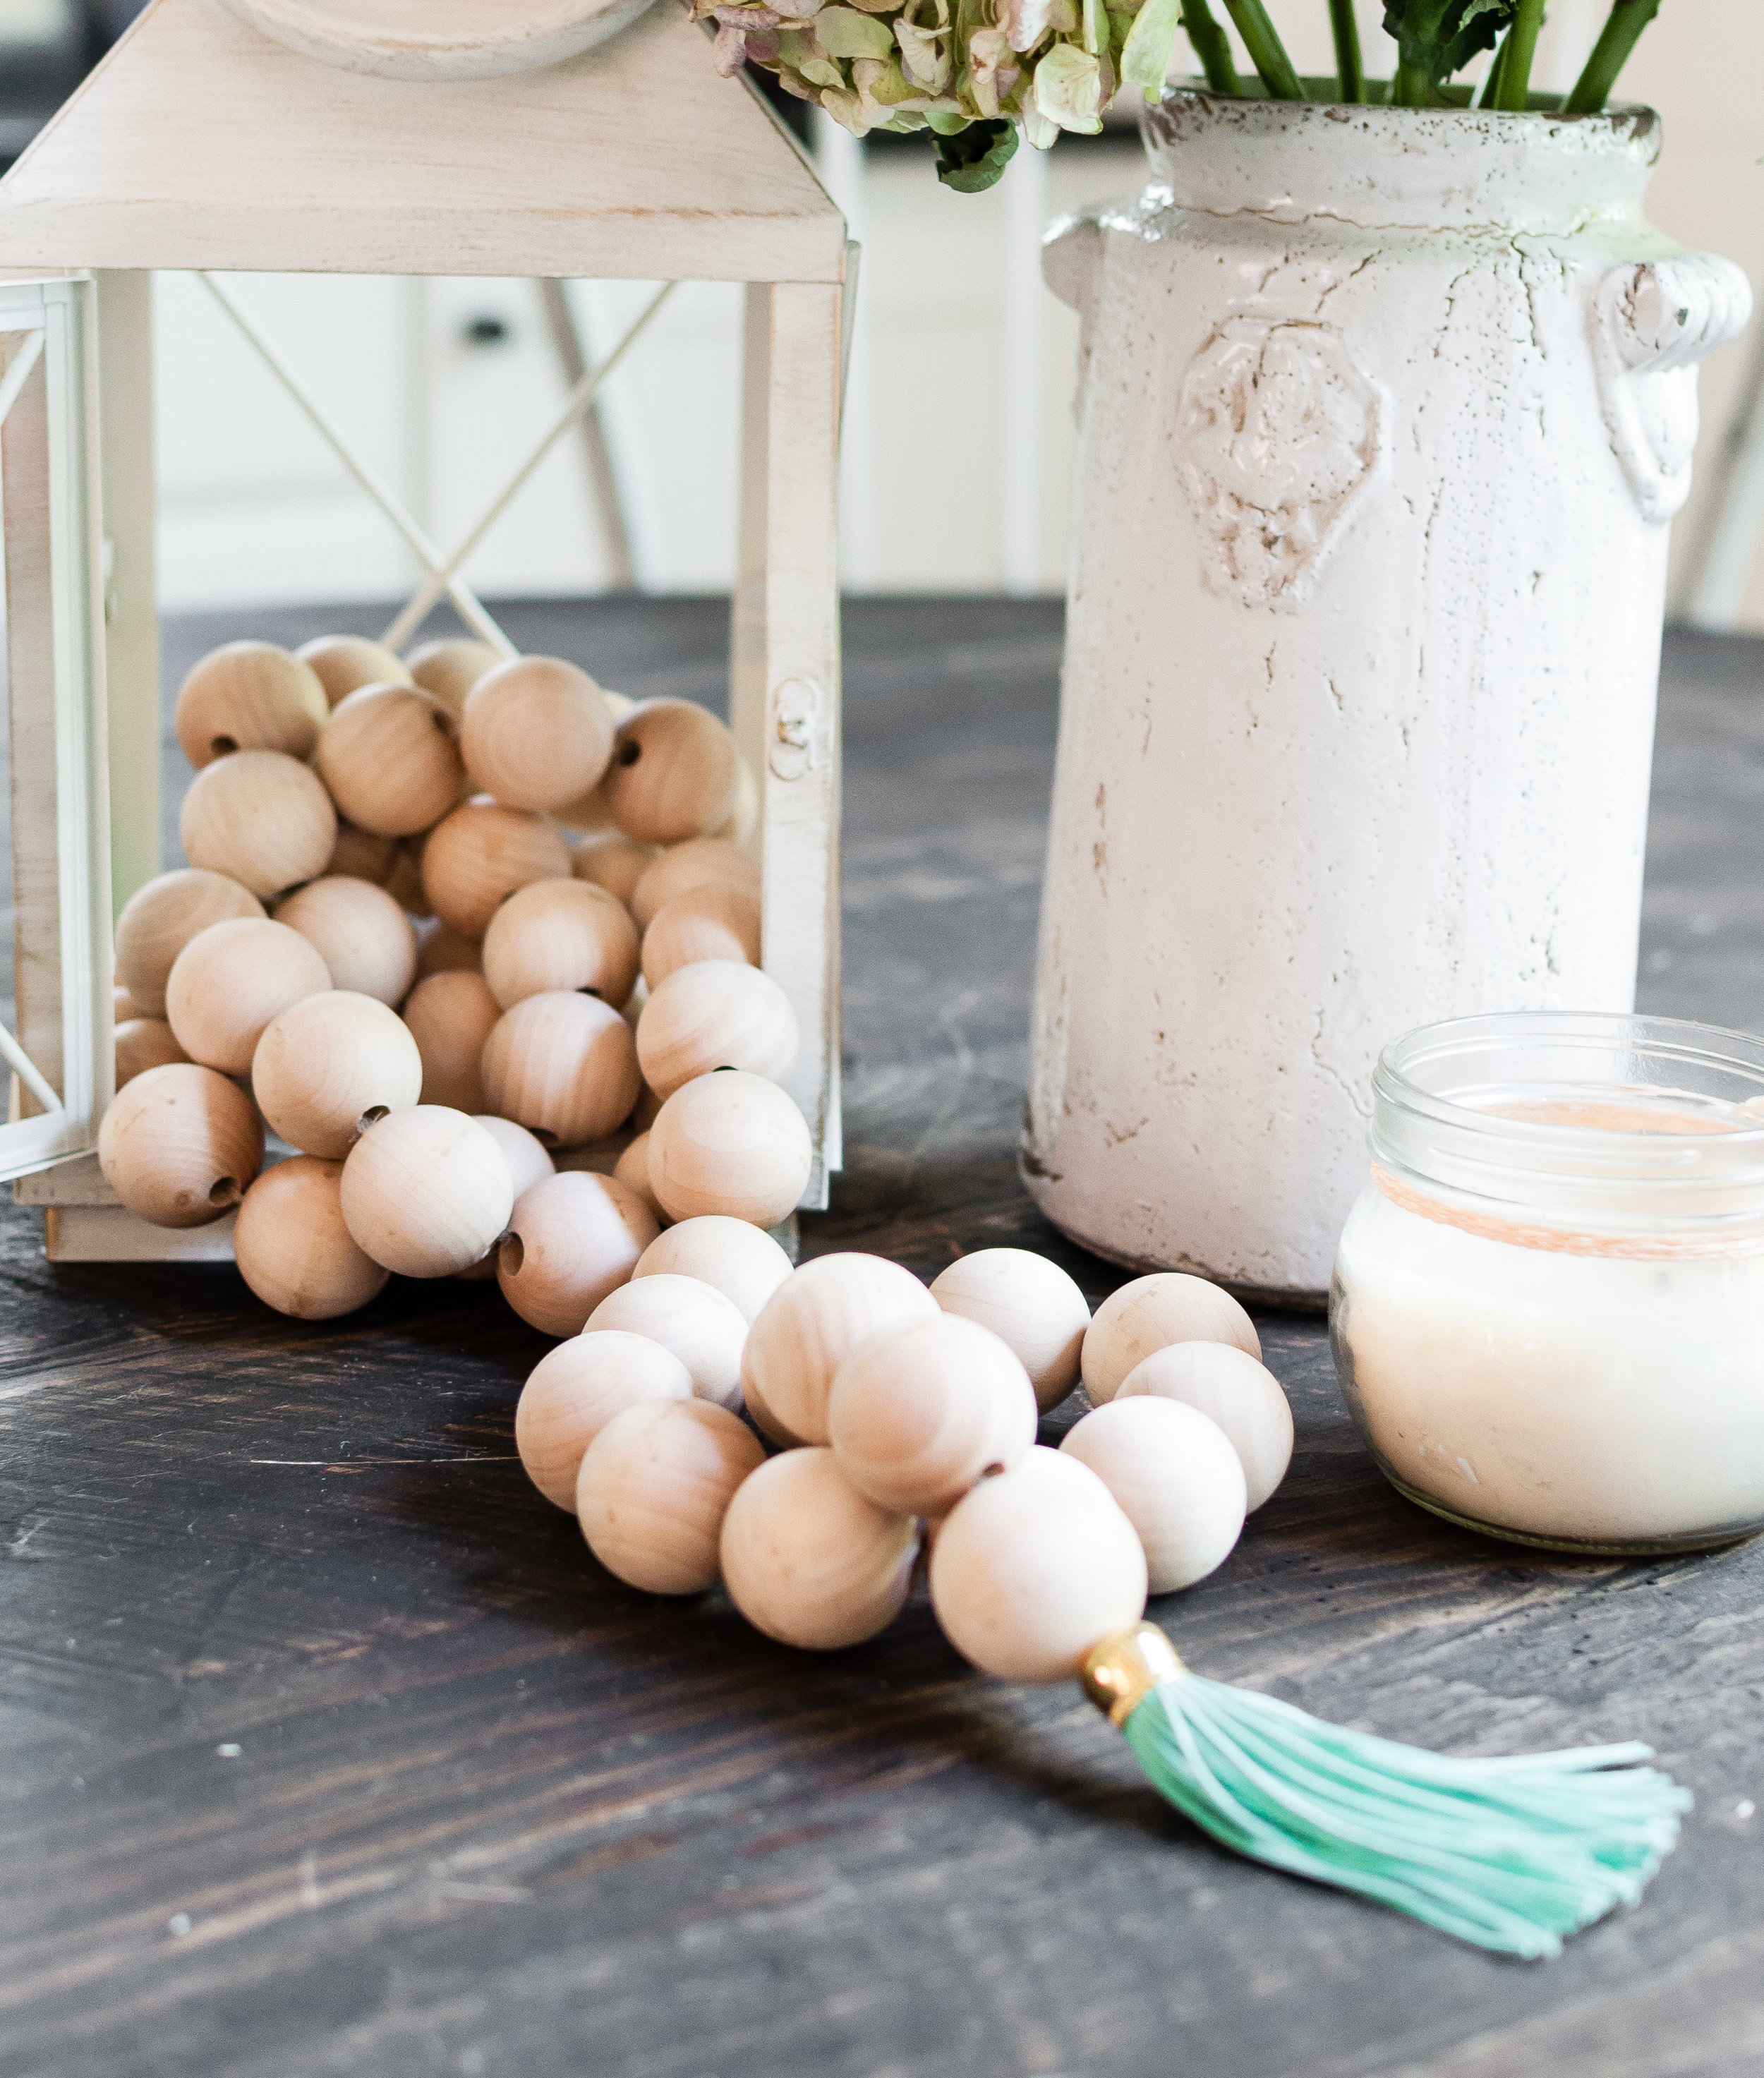
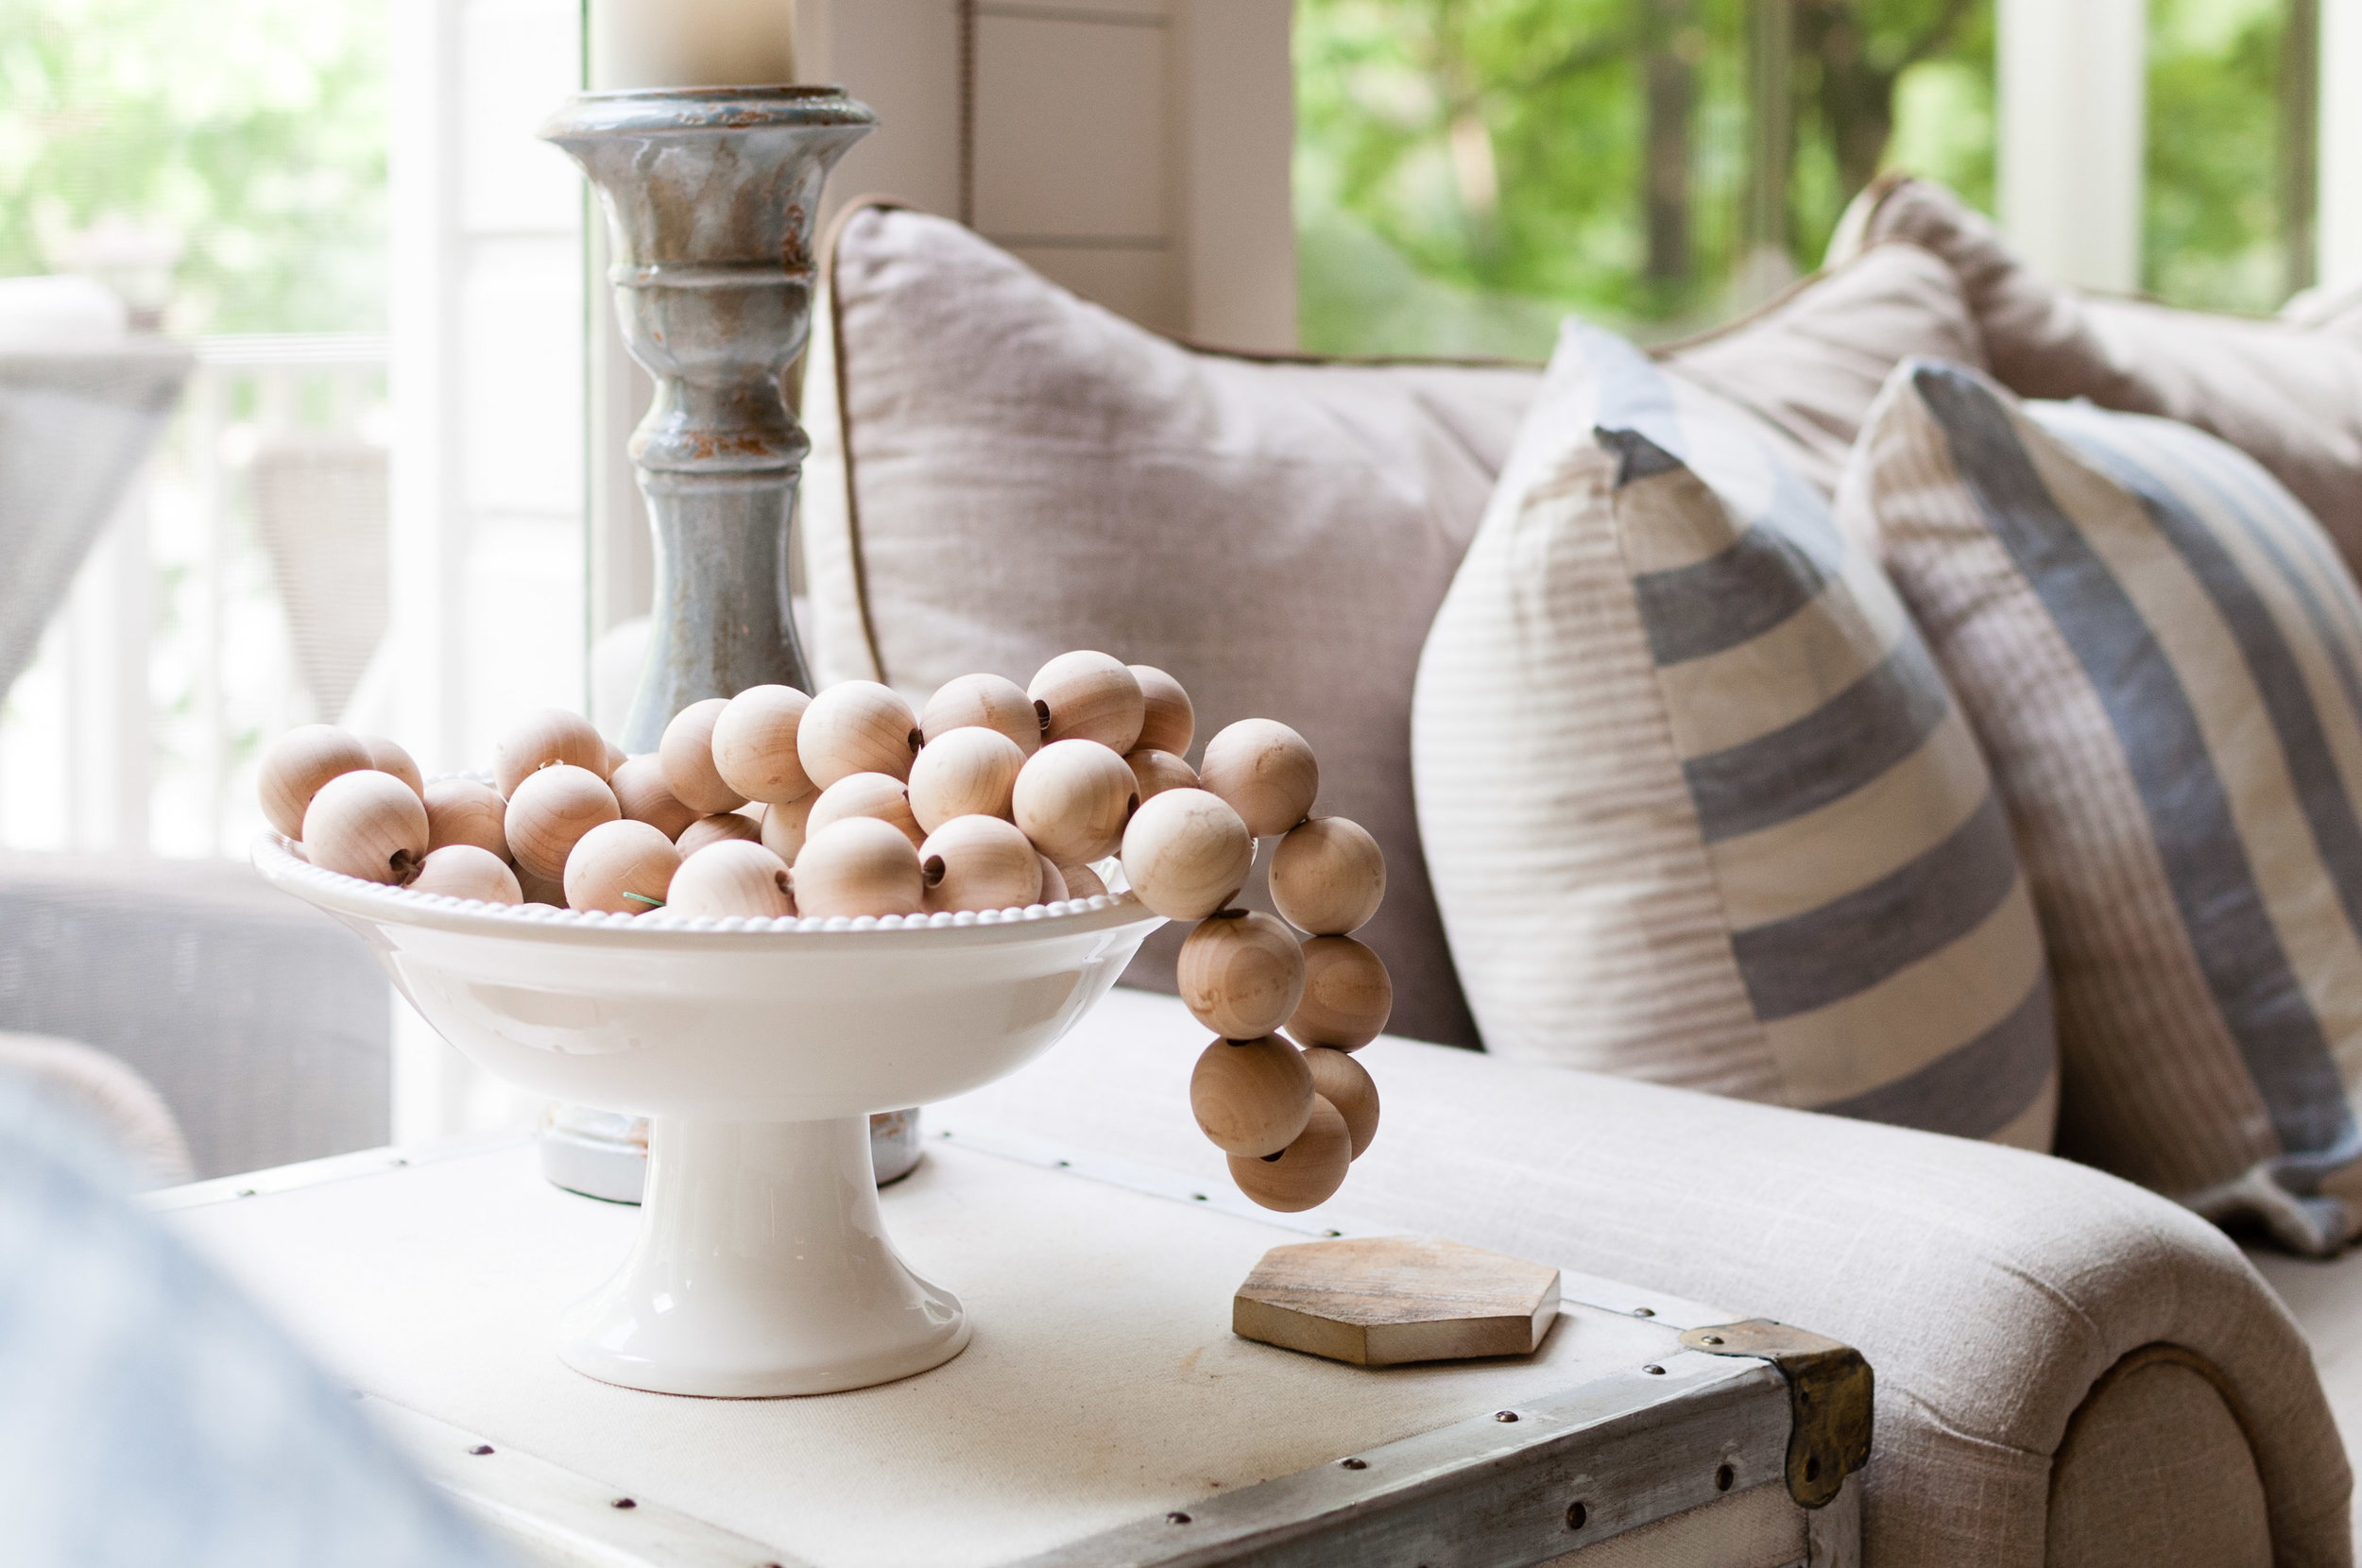
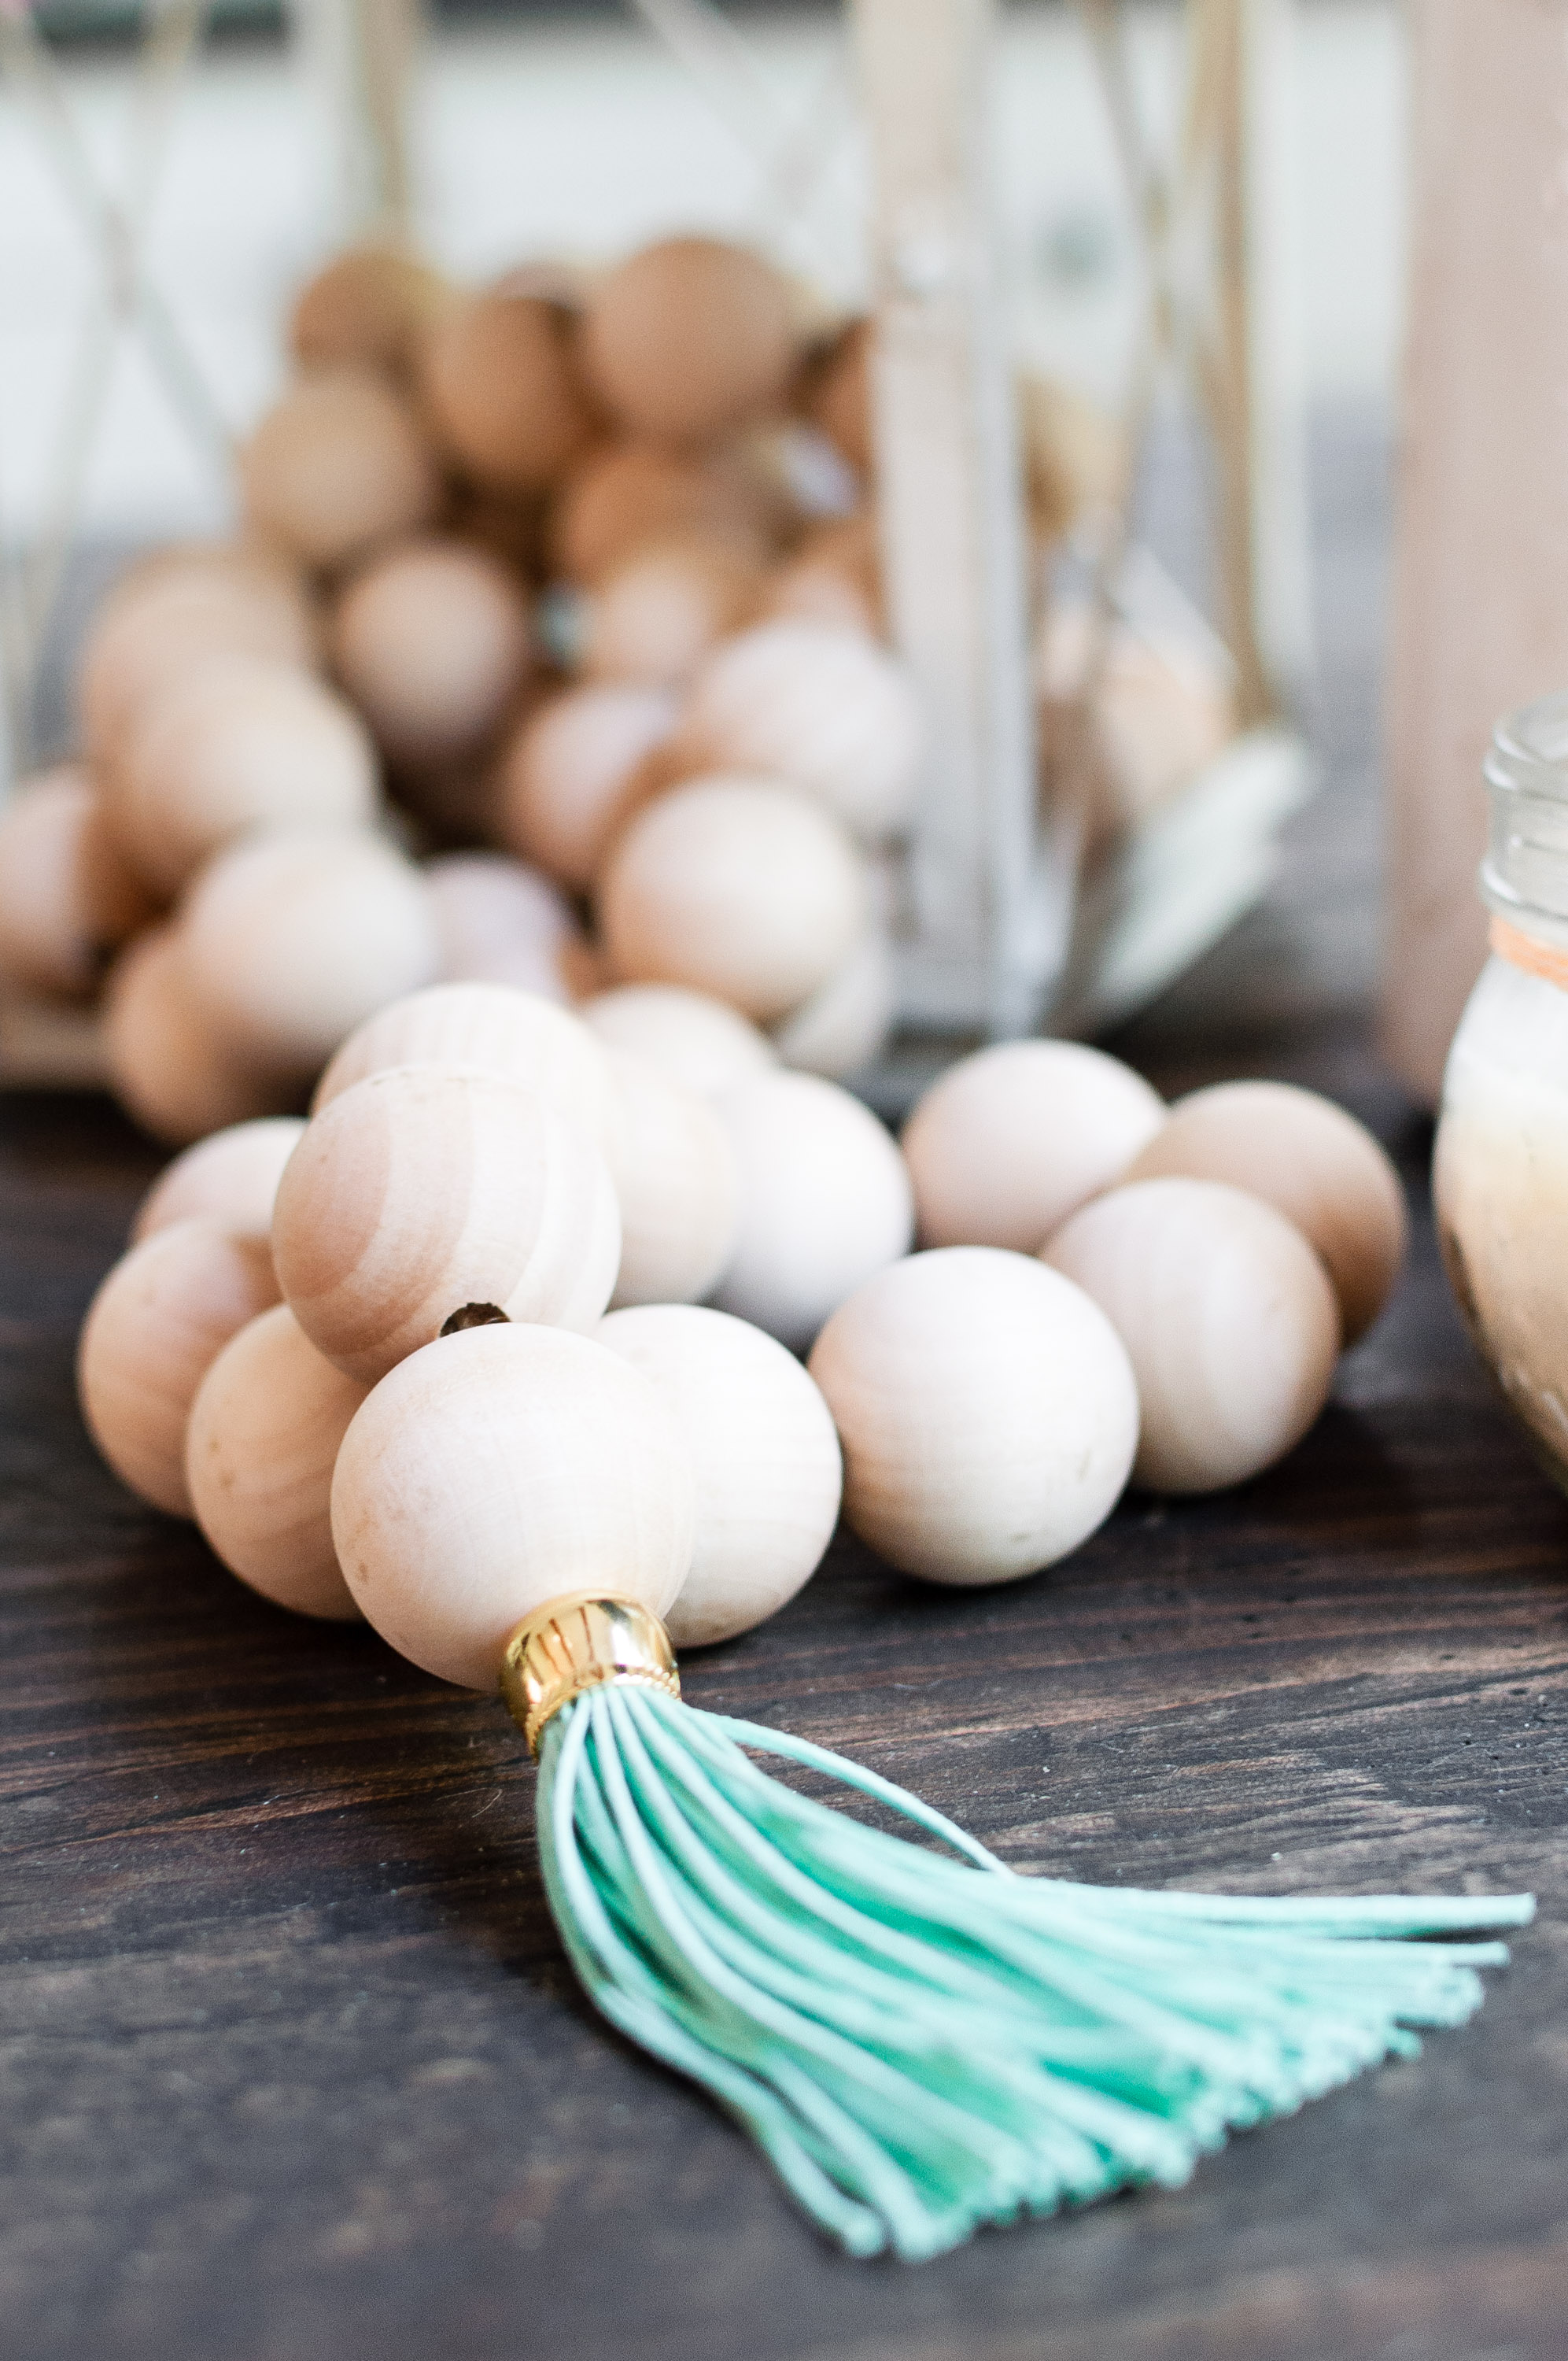
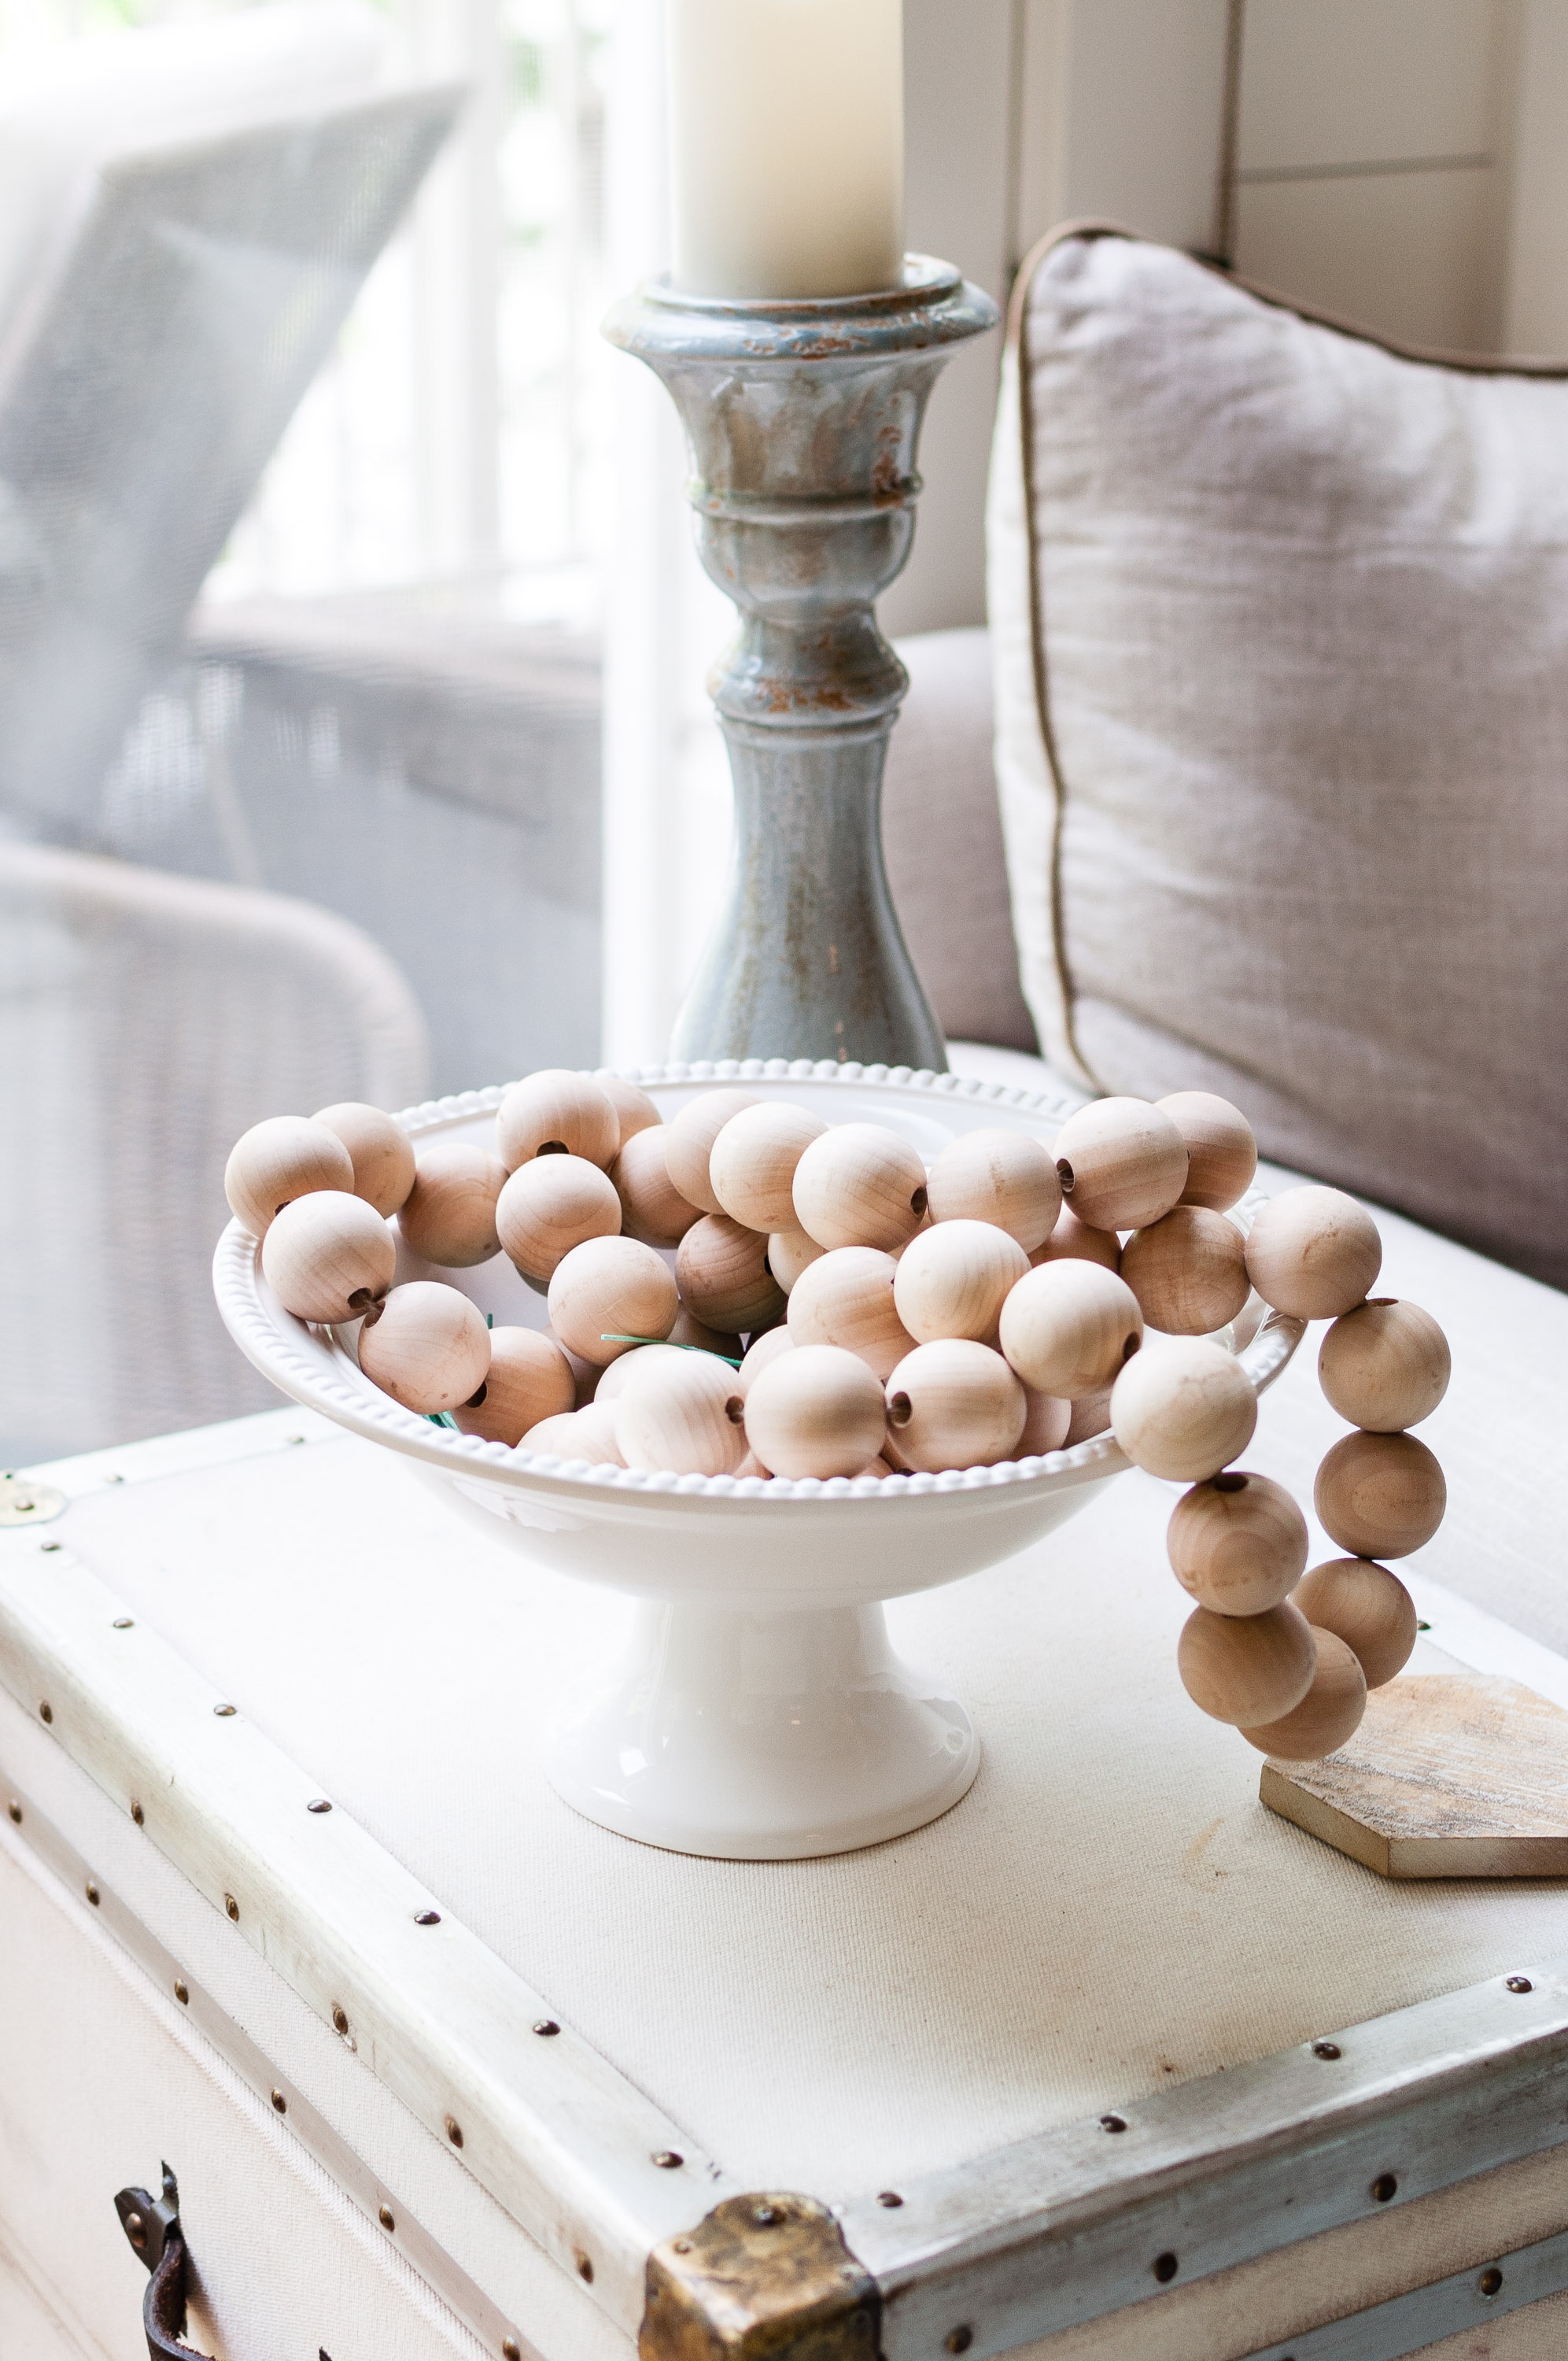
I decided I would make my own and I couldn’t be more proud of it! I was able to customize the size of the wooden balls, the length and the tassel ends exactly to my liking, which made it worth the little time it took to plan and put together.
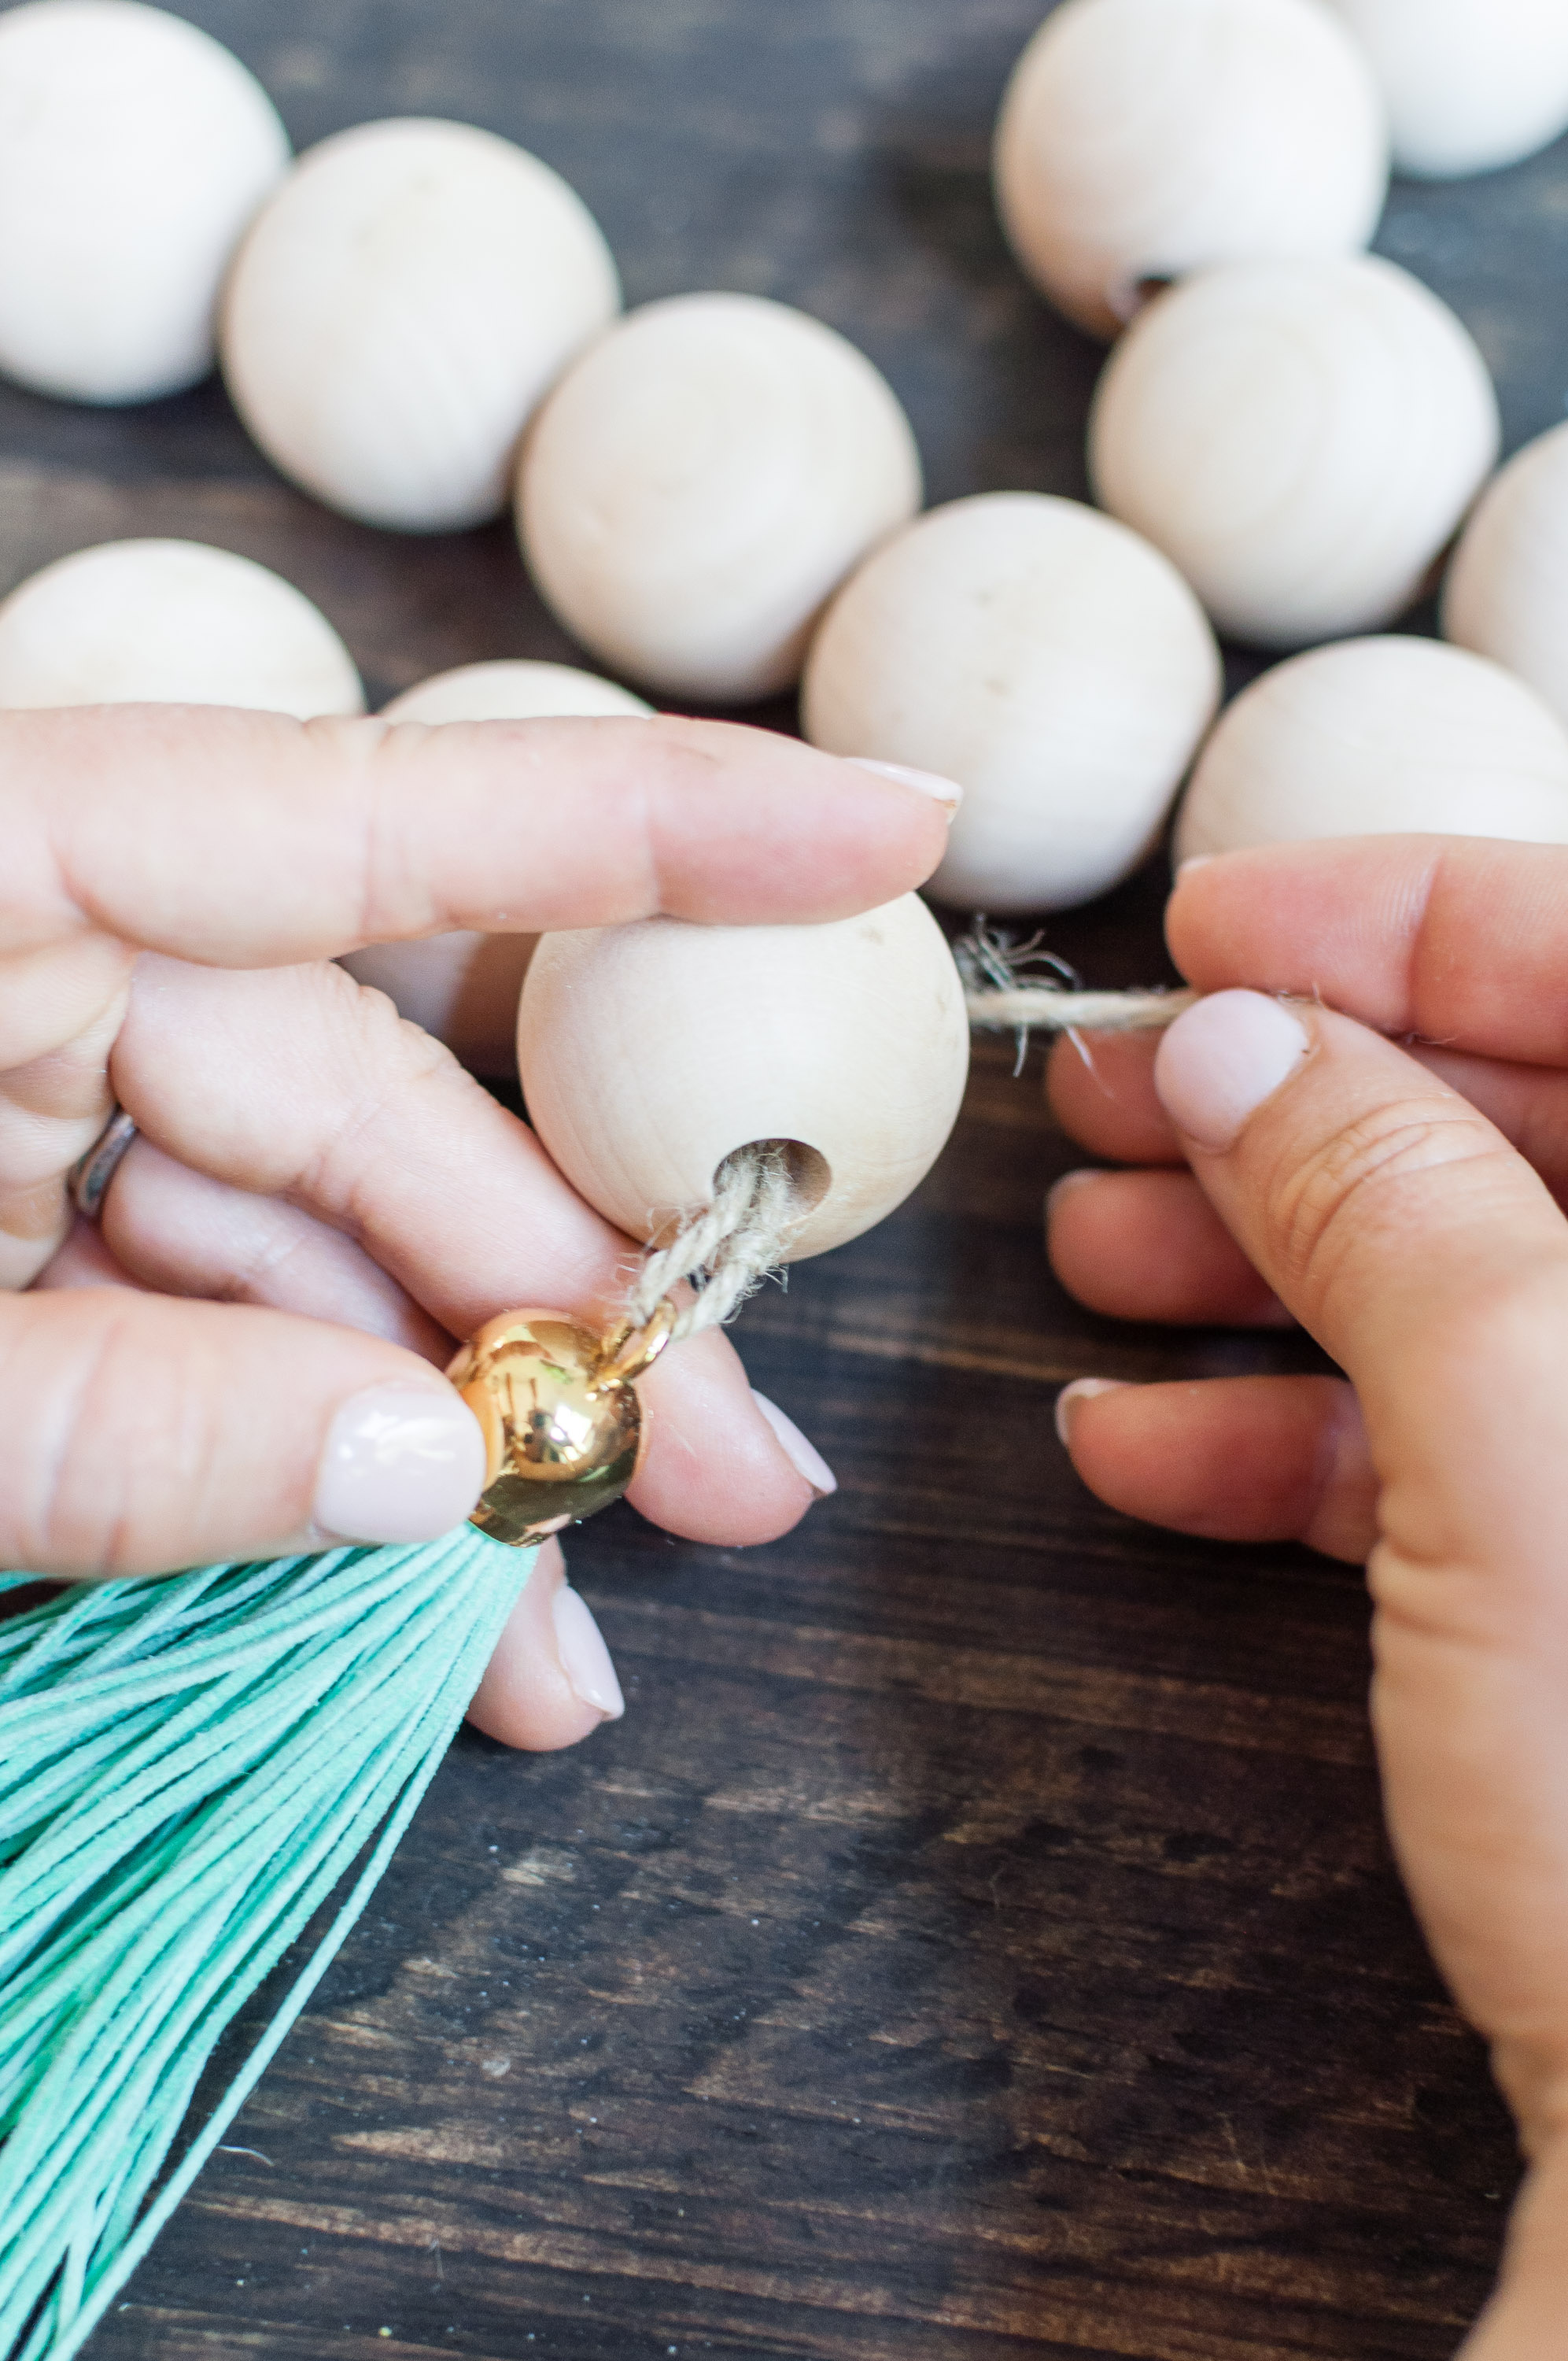
I purchased the birch dowel caps online thinking the hole went all the way through, only to open them and discover the hole is one sided – they are intended to be caps on a pole/rod. All you need is a drill, the right sized drill bit, and a sturdy vice to hold the ball to take the hole all the way through, allowing it to be strung on the rope.
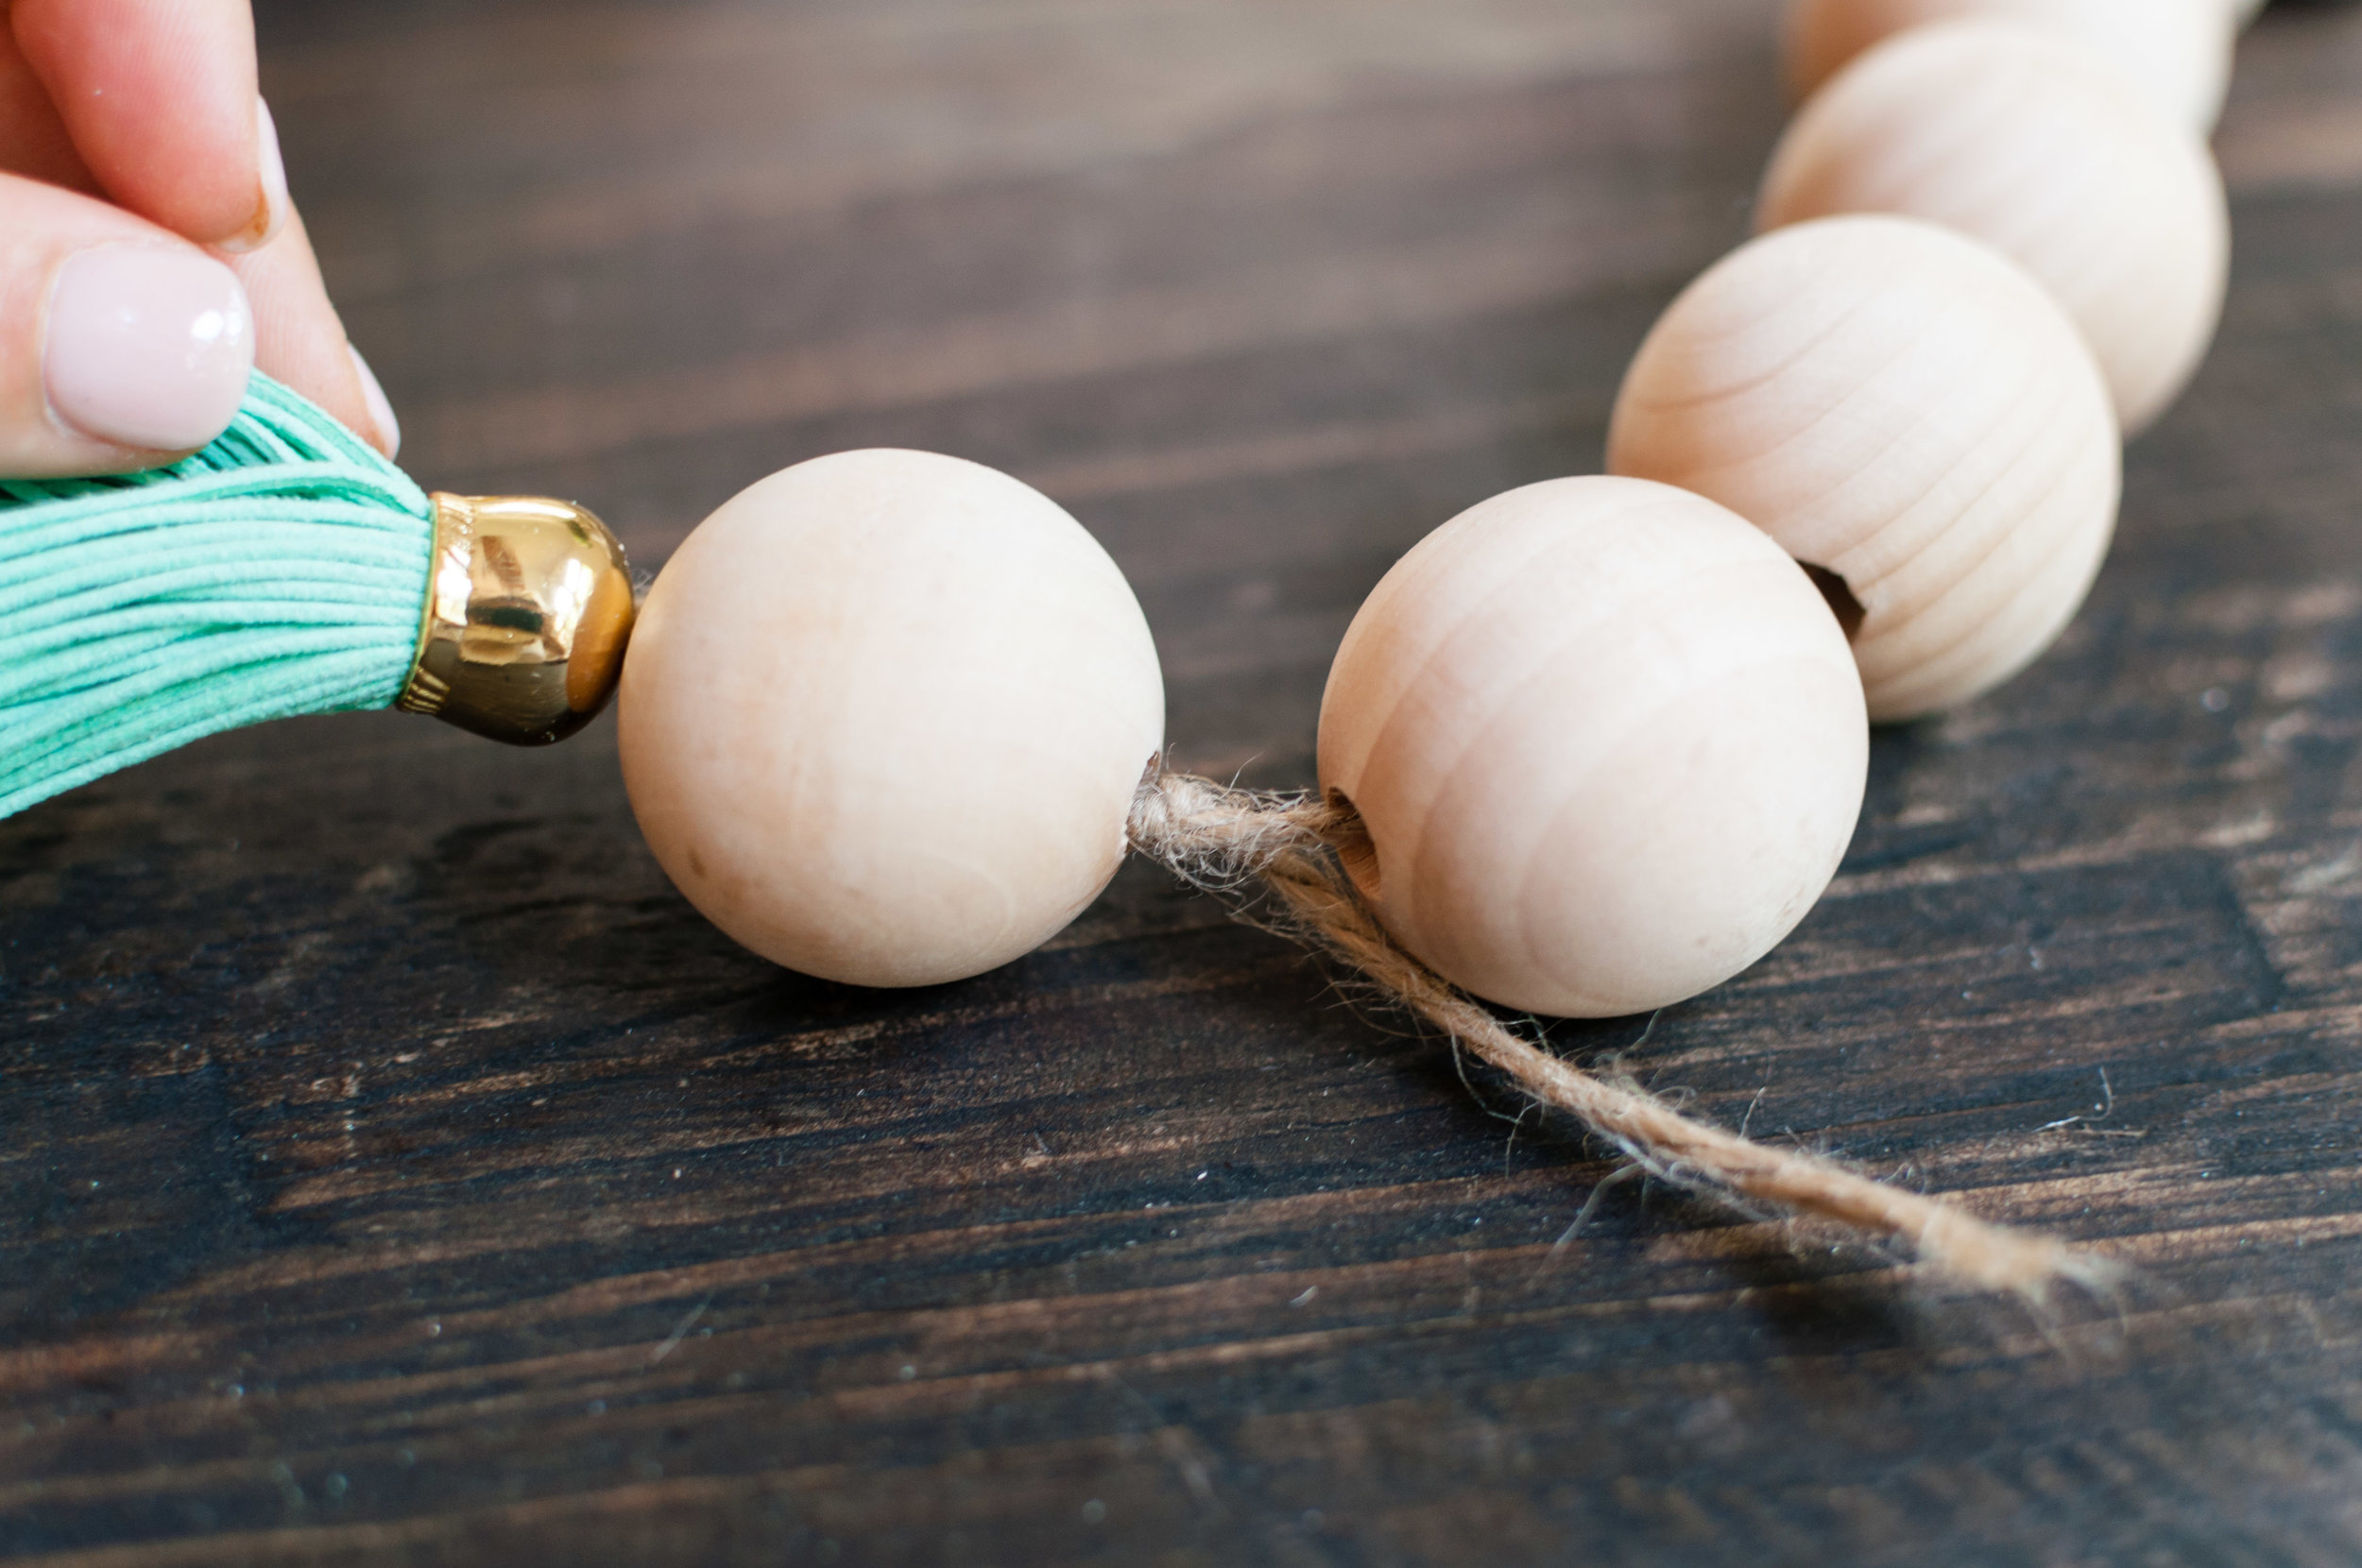
I also found leather tassels at Hobby Lobby (I couldn't find it online), removing the key chain to leave me with the perfect ends for the garland. I knotted it between the last two balls so that the tassel would be flush with the end - does that make sense? I tried to show it via pictures below.
I’m so excited to find endless ways to style with the garland and I personally think it gives any vignette an effortlessly, sophisticated look.
Kitchen Update: Shiplap Backsplash!
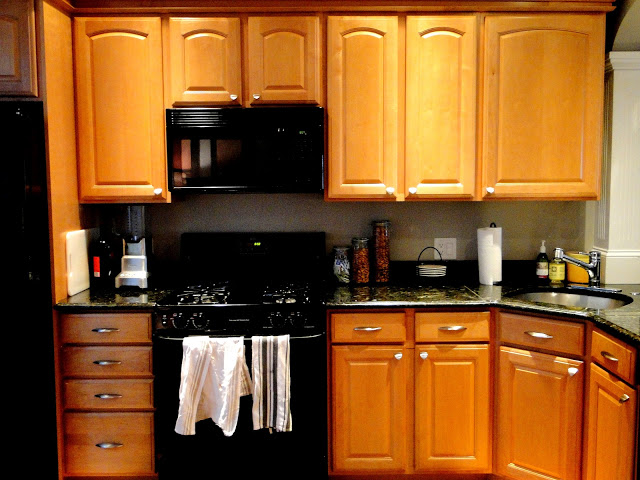
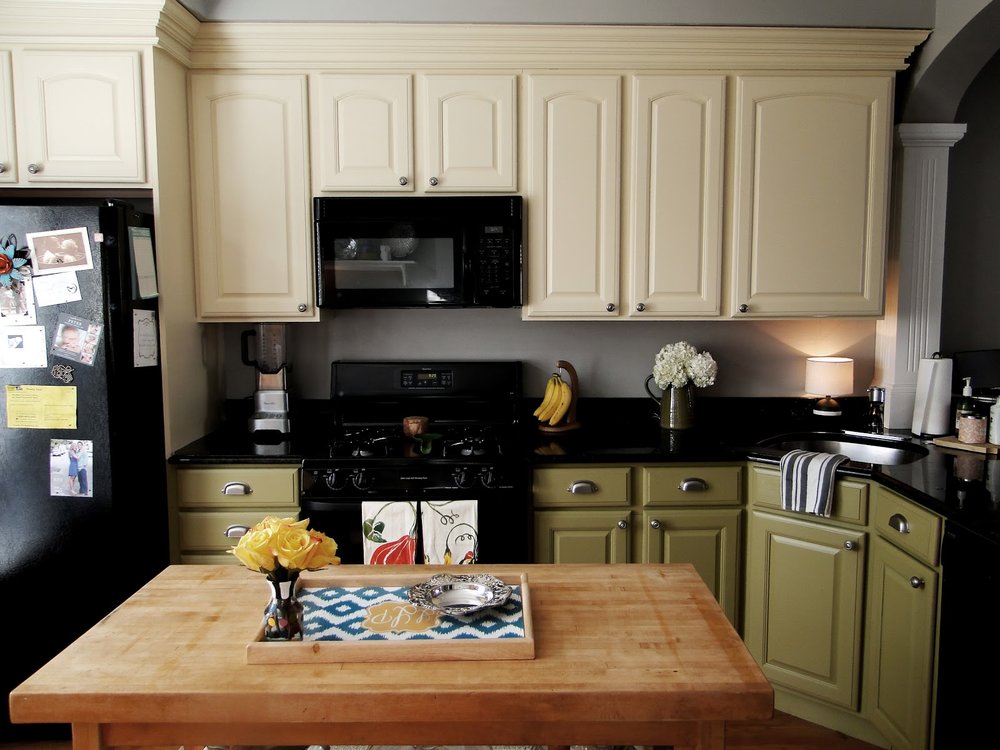
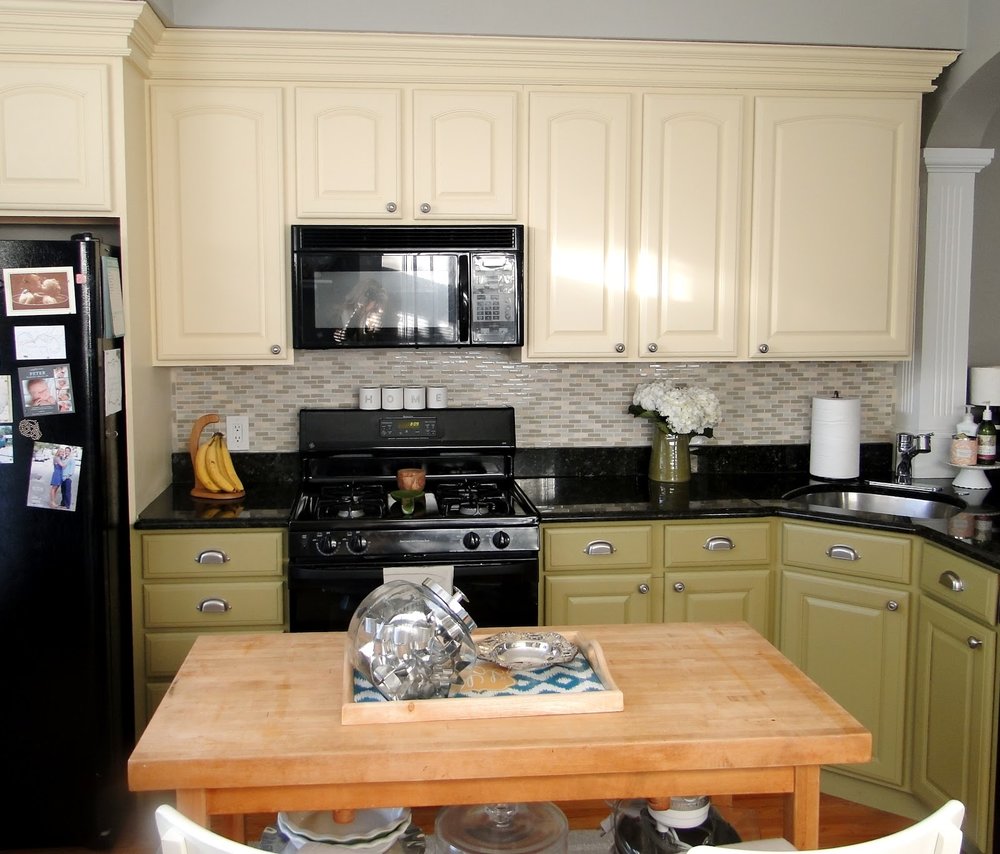
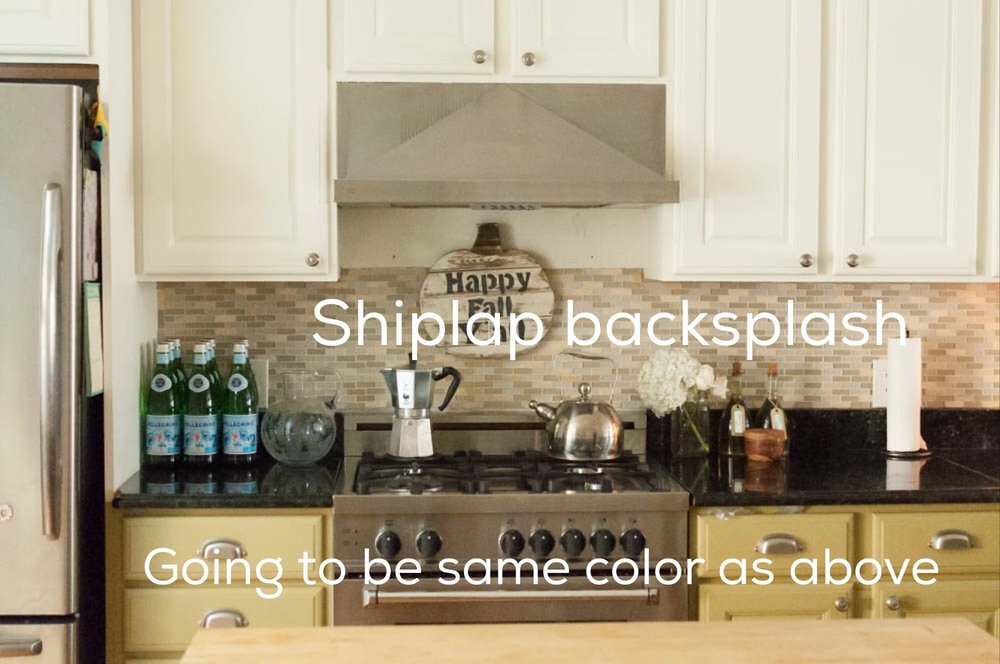
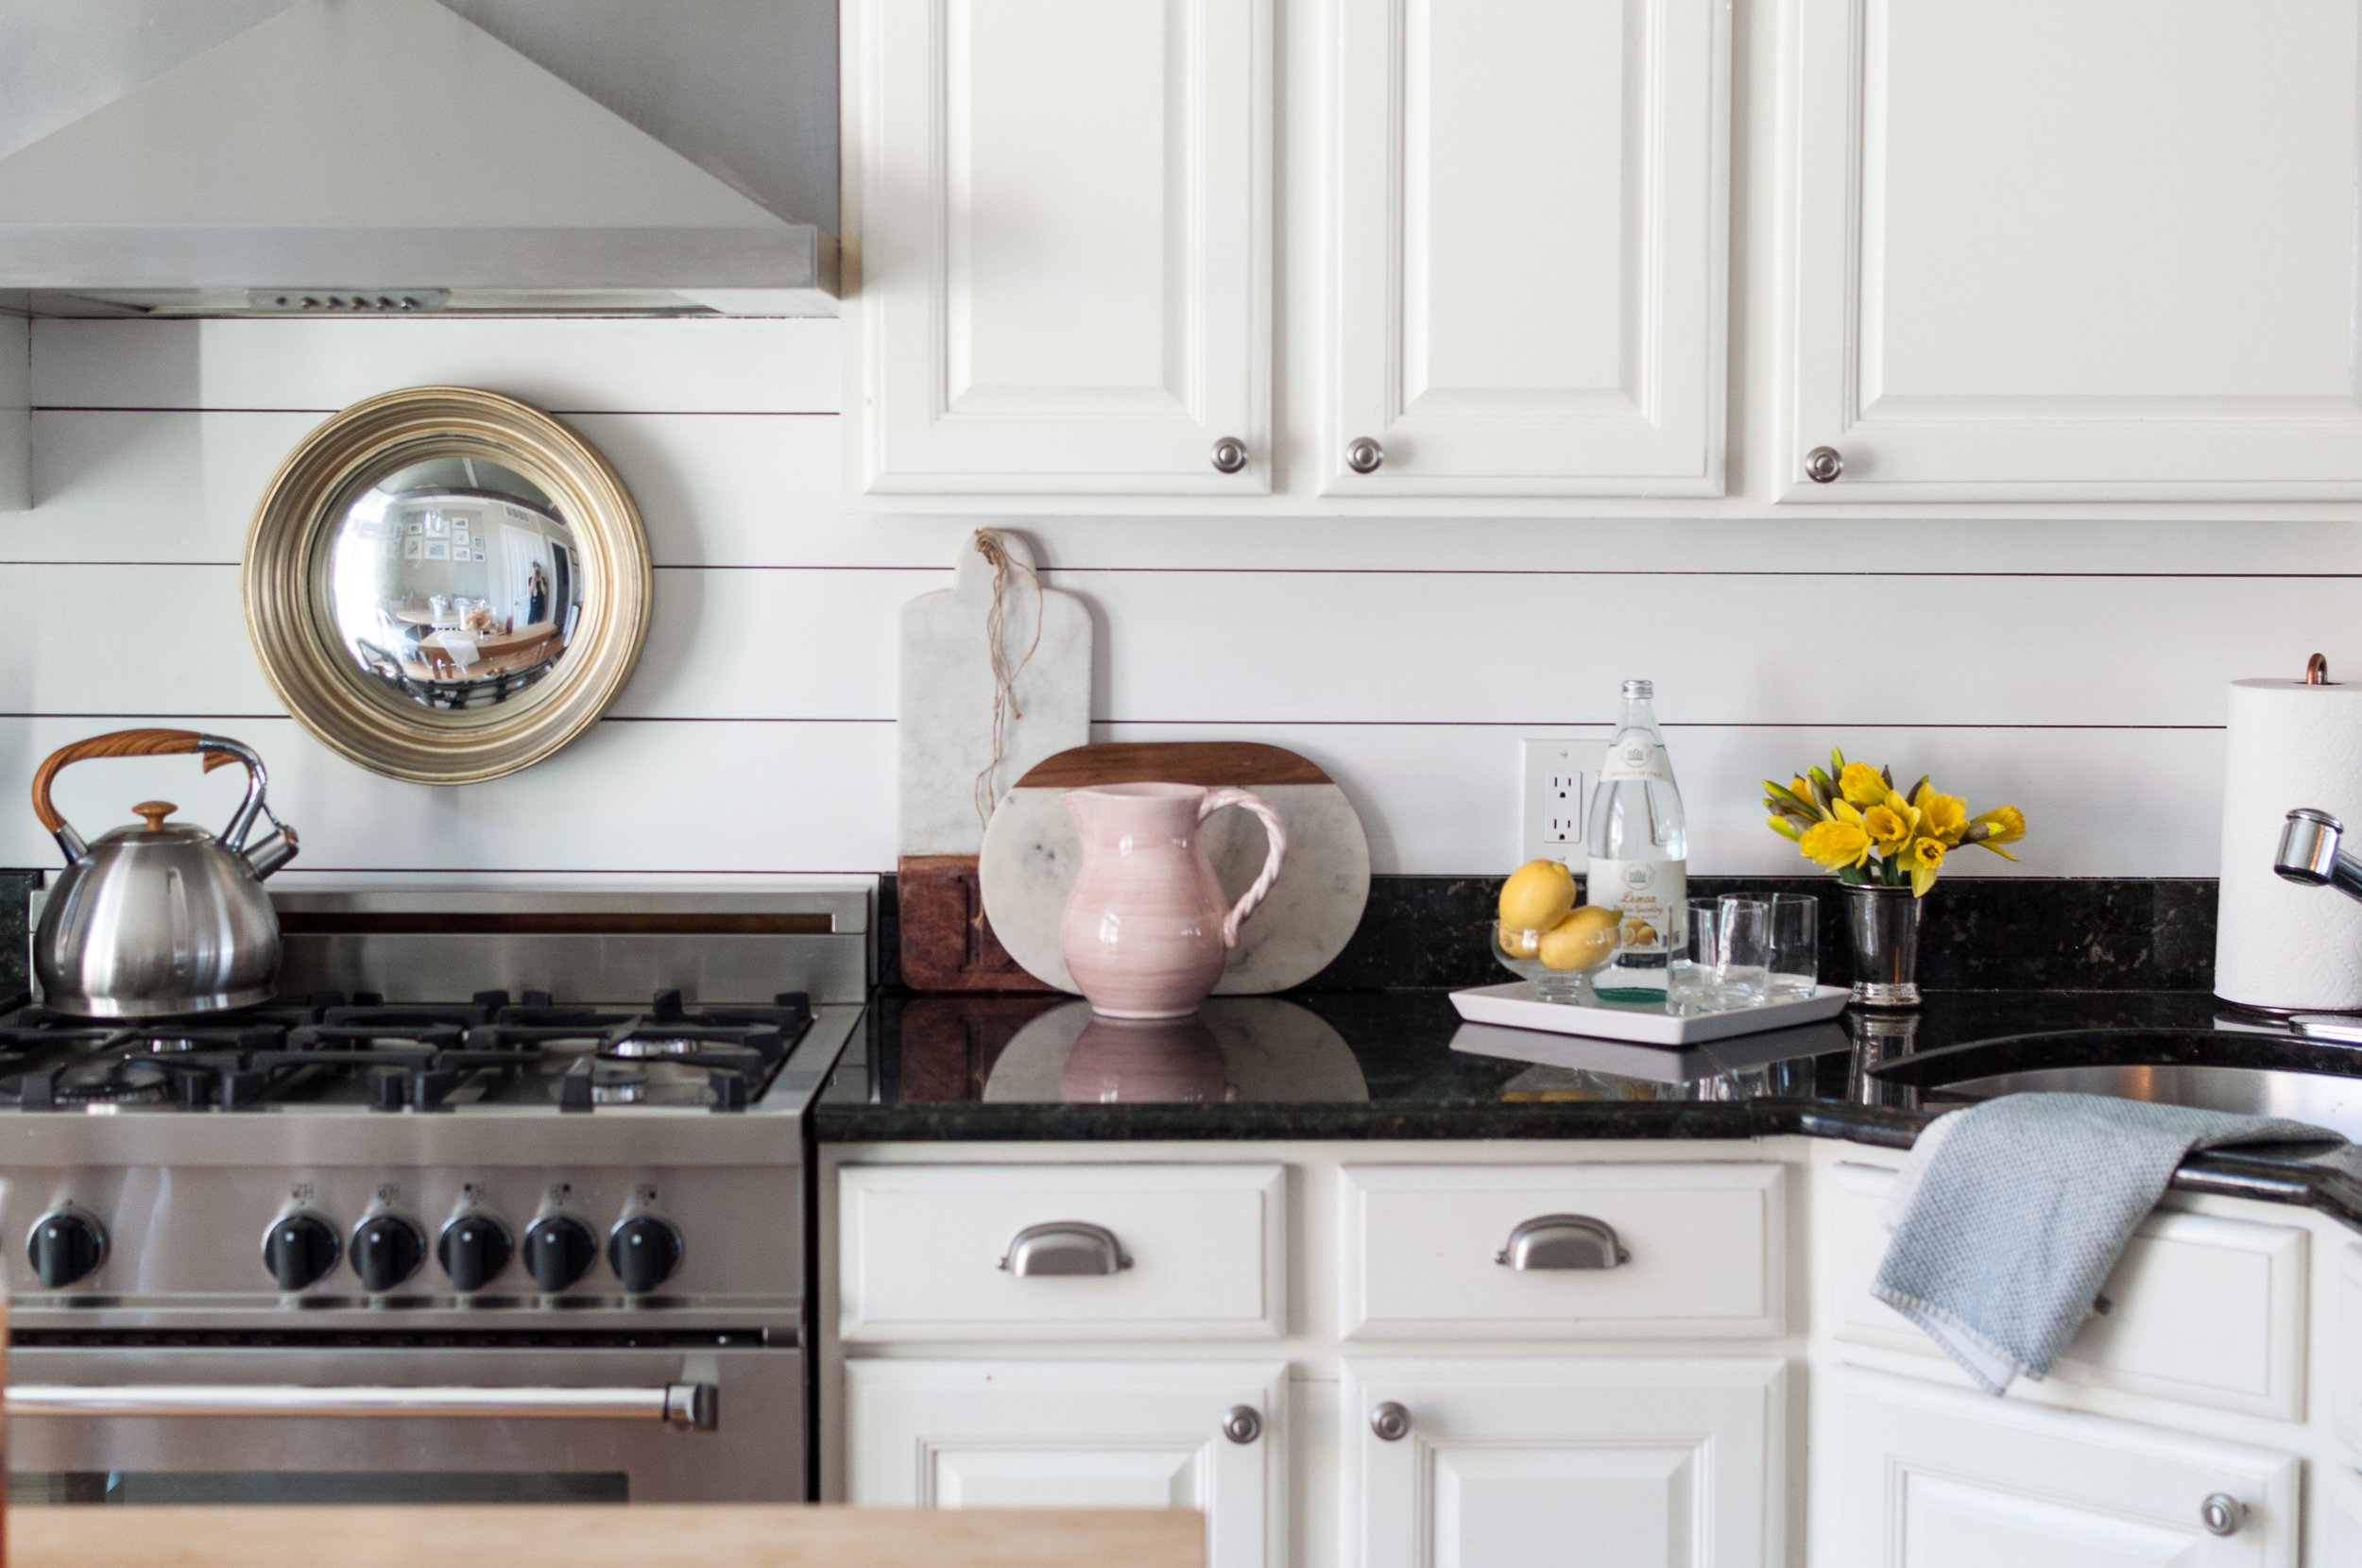
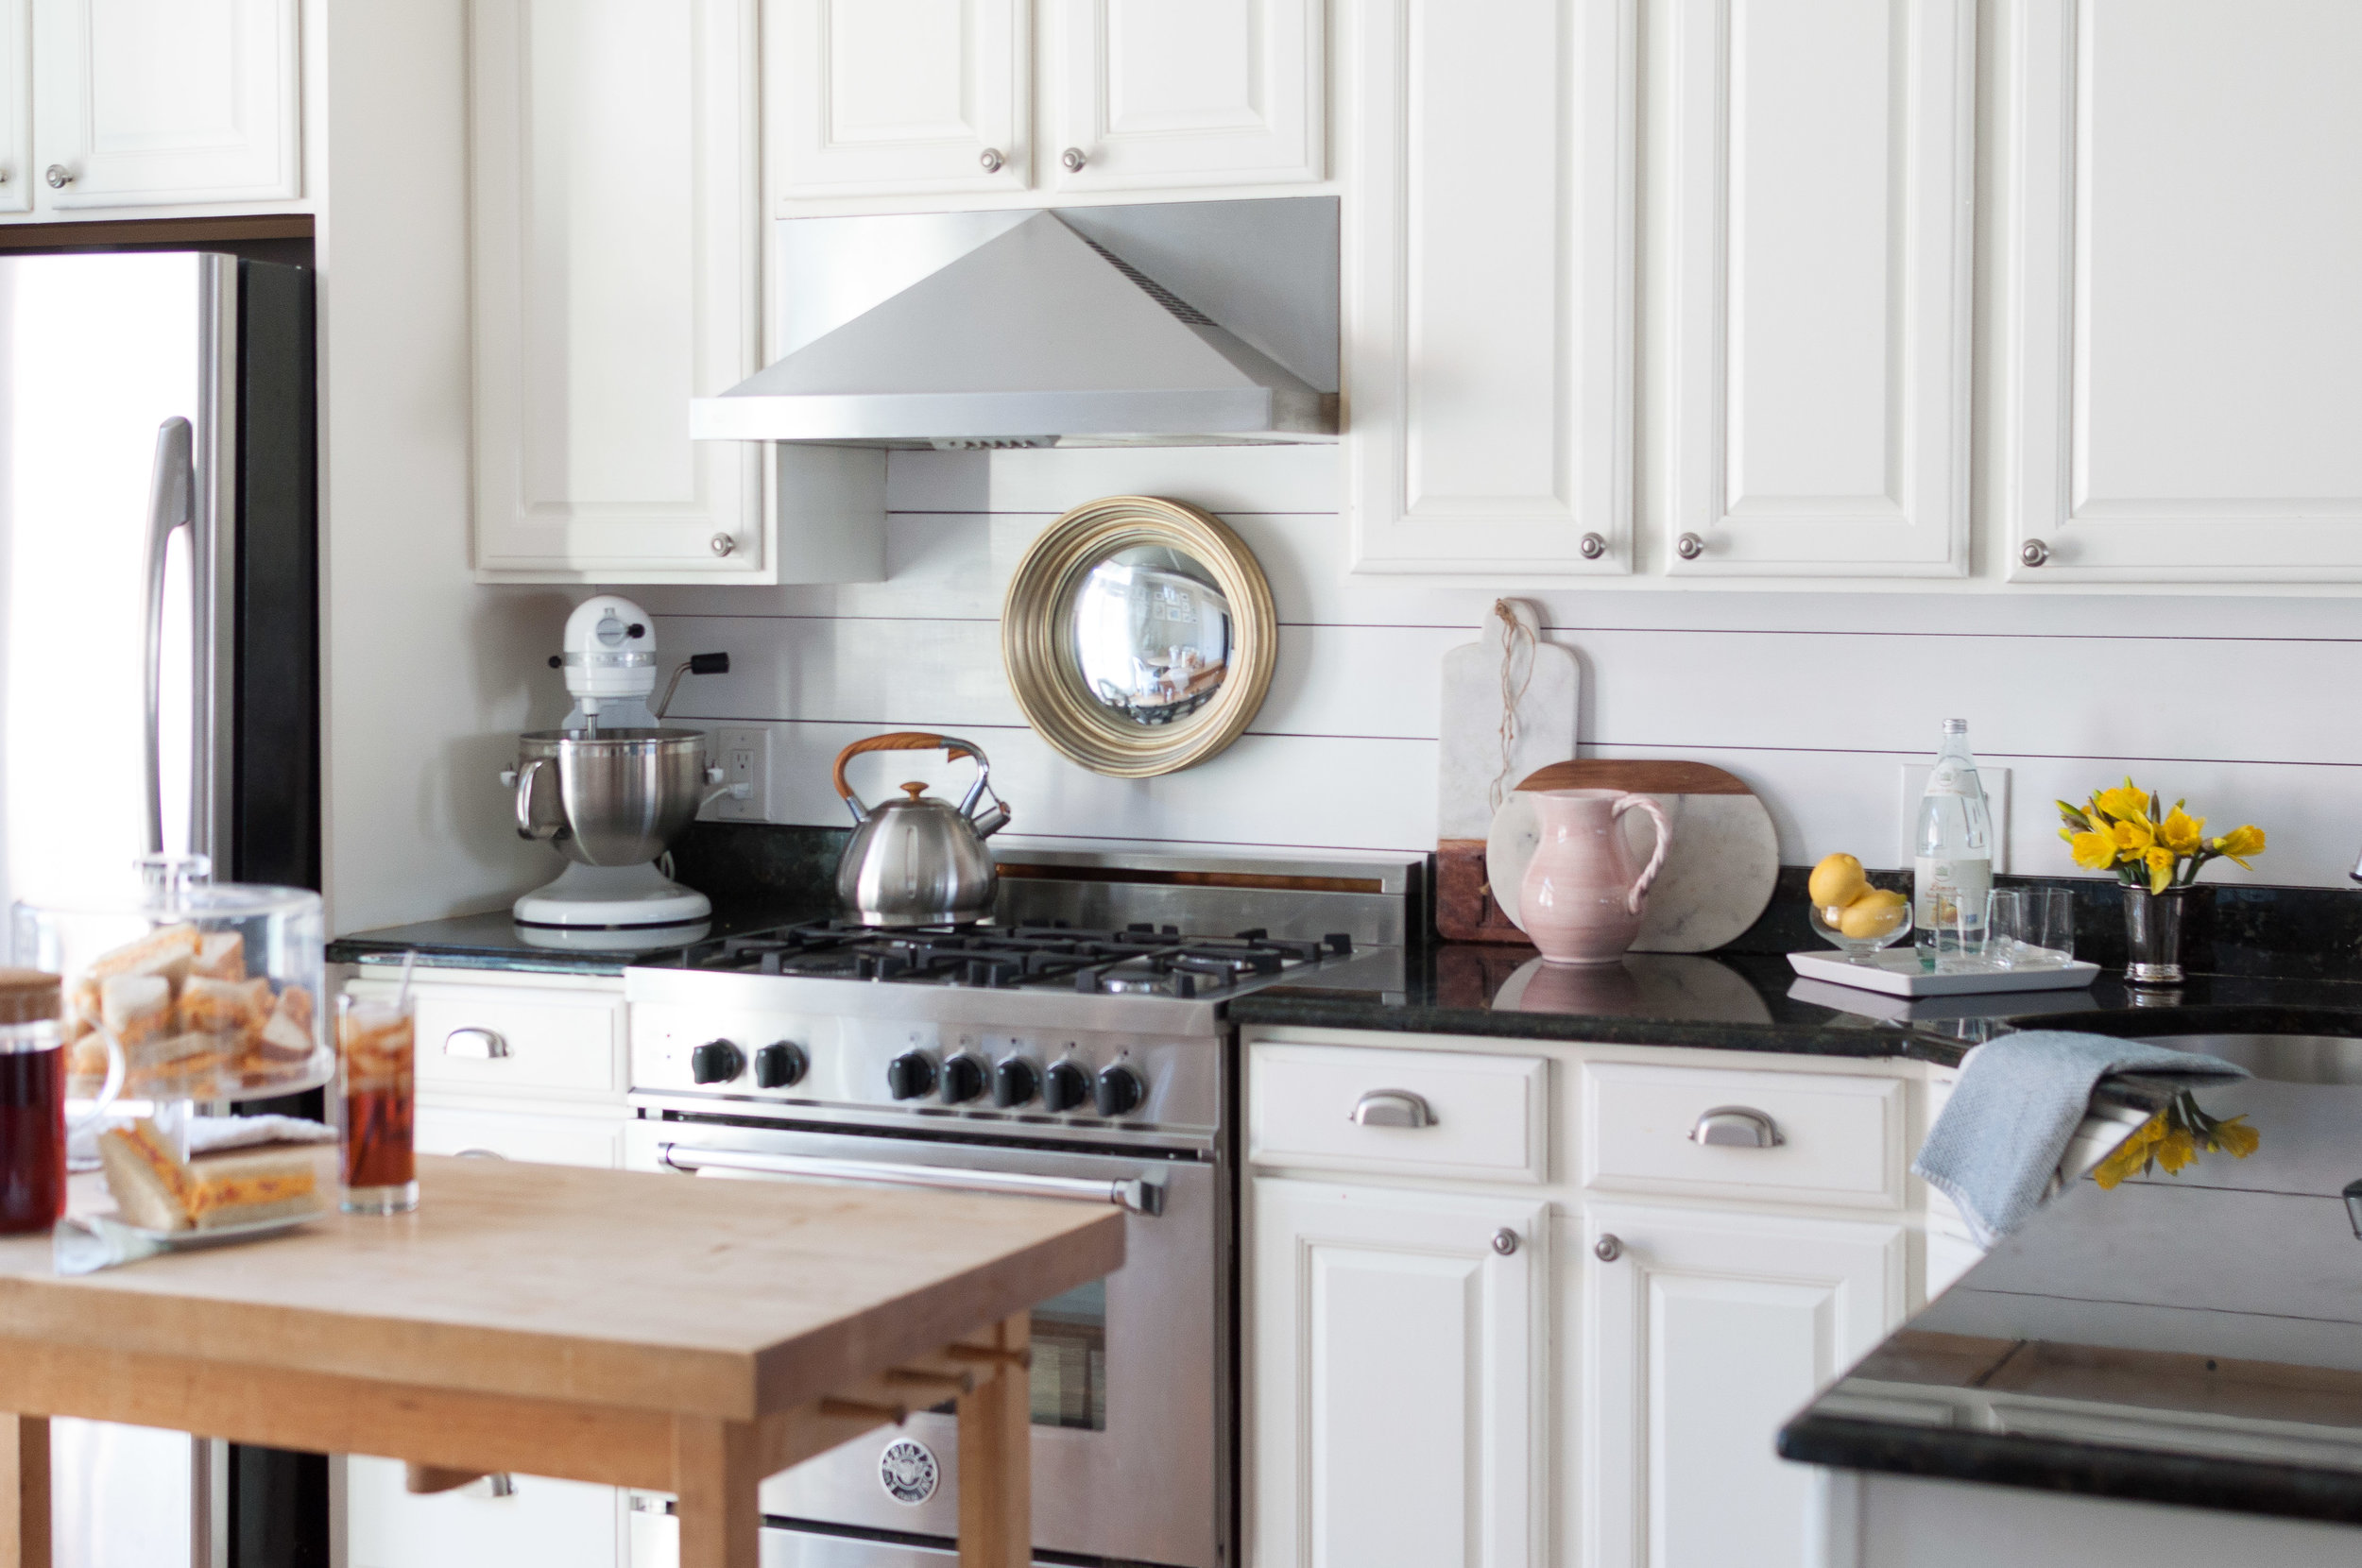
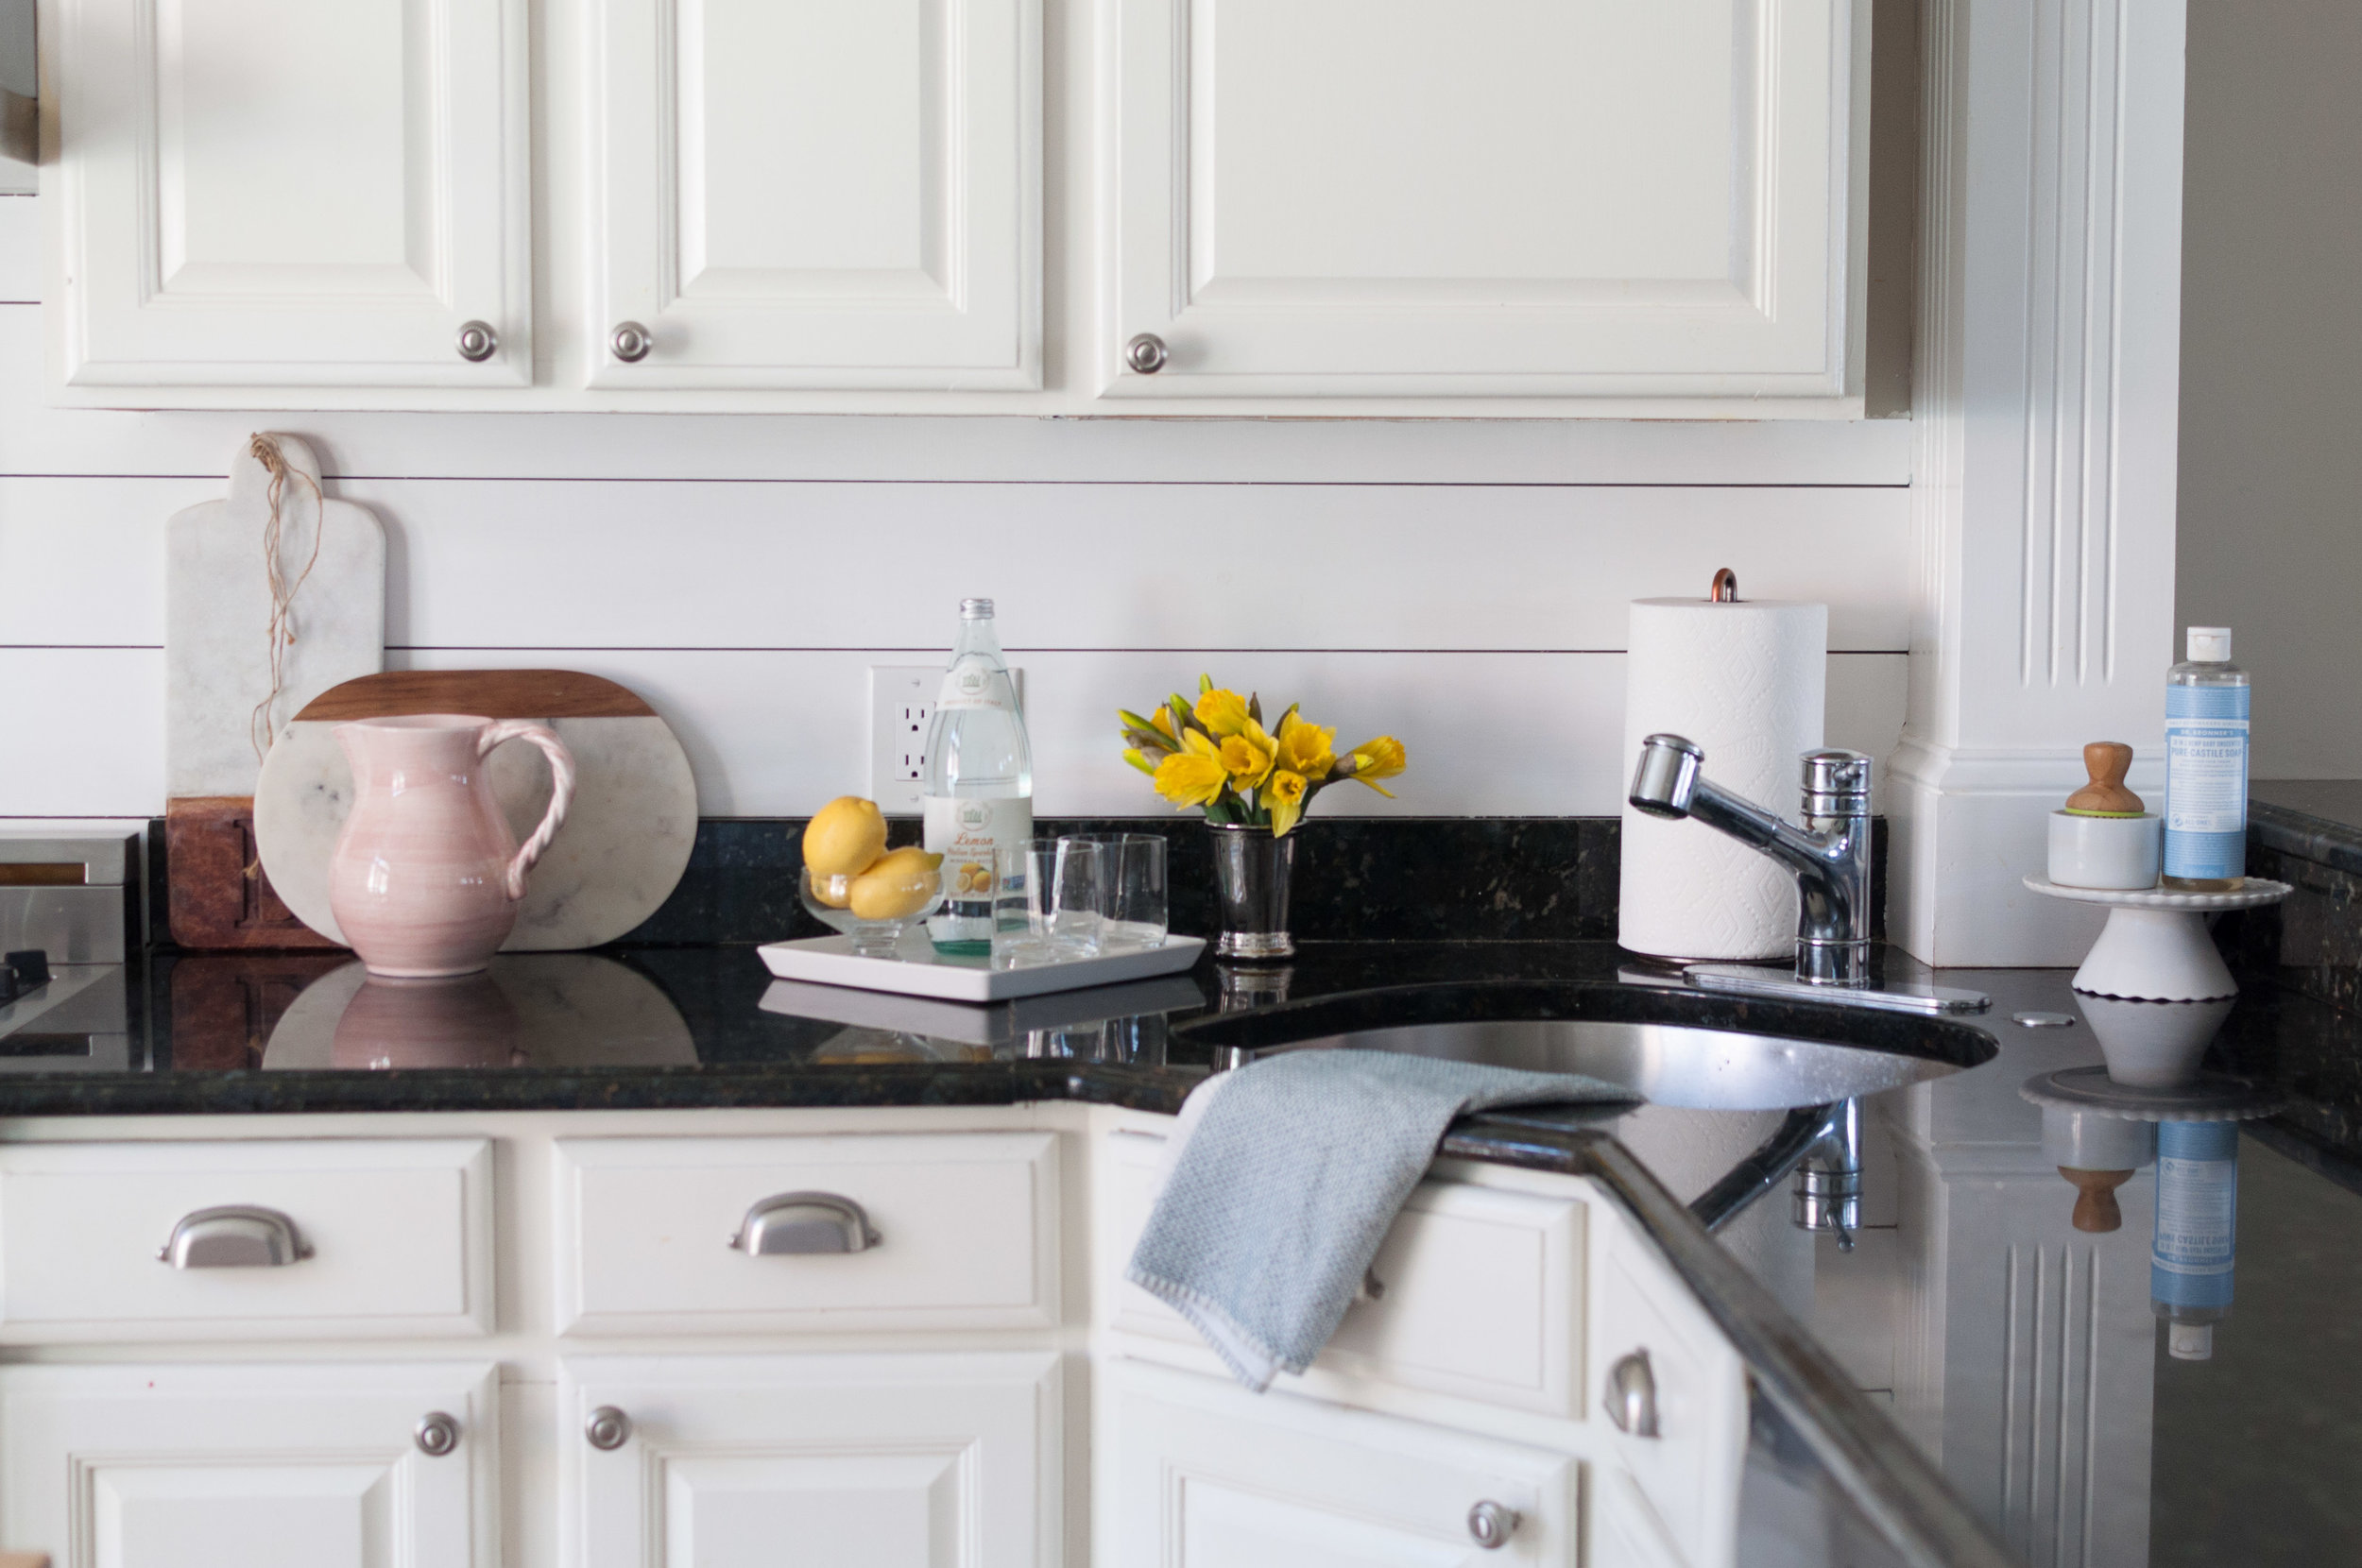
The room with the most updates in the 5 years I have lived in our townhouse is BY FAR the kitchen. I can't stop changing it! The cabinets and backsplash were the first thing I changed after we were married in 2012 and I think I liked my impulsive, colorful choice, for maybe a year. We updated our stove in 2014, and then I repainted the cabinets to an off-white last year, 2016. And now, the most recent change was to rip down the tiny, multi-color, tile backsplash and replace it with the most simple, whitest of white shiplap.
Below is a pretty good documentation of the progress!! Unfortunately I didn't take a straight on shot of the most recent version - and now I'm in GA and have to just use what I have from shooting last Sunday.
Paul and his dad completed the reno project while Roswelle and I were in GA for a weekend in February. I literally left the house with the old tile backsplash and came home to new wood shiplap - and I didn't have to see one speck of dust from the project (helped that Paul hired a cleaning lady after they completed).
The overall cost was only $130 which included 3-4 2x6 wood planks, nails, and a thin backing between the insulation and the wood. When they tore down the tile backsplash, the drywall came with it. I painted the wood with white Benjamin Moore semi-gloss paint - which can be wiped clean easily.
I think some changes that may be ahead...because why stop now...new hardware? And the shade of the cabinets, in person, is just a smidgggeee cream. I've thought about painting them one more time, just one more coat of white. But then am I just making a mess? Paul jokes that our cabinets are like a box of chocolates...you never know what color you are gonna get :)
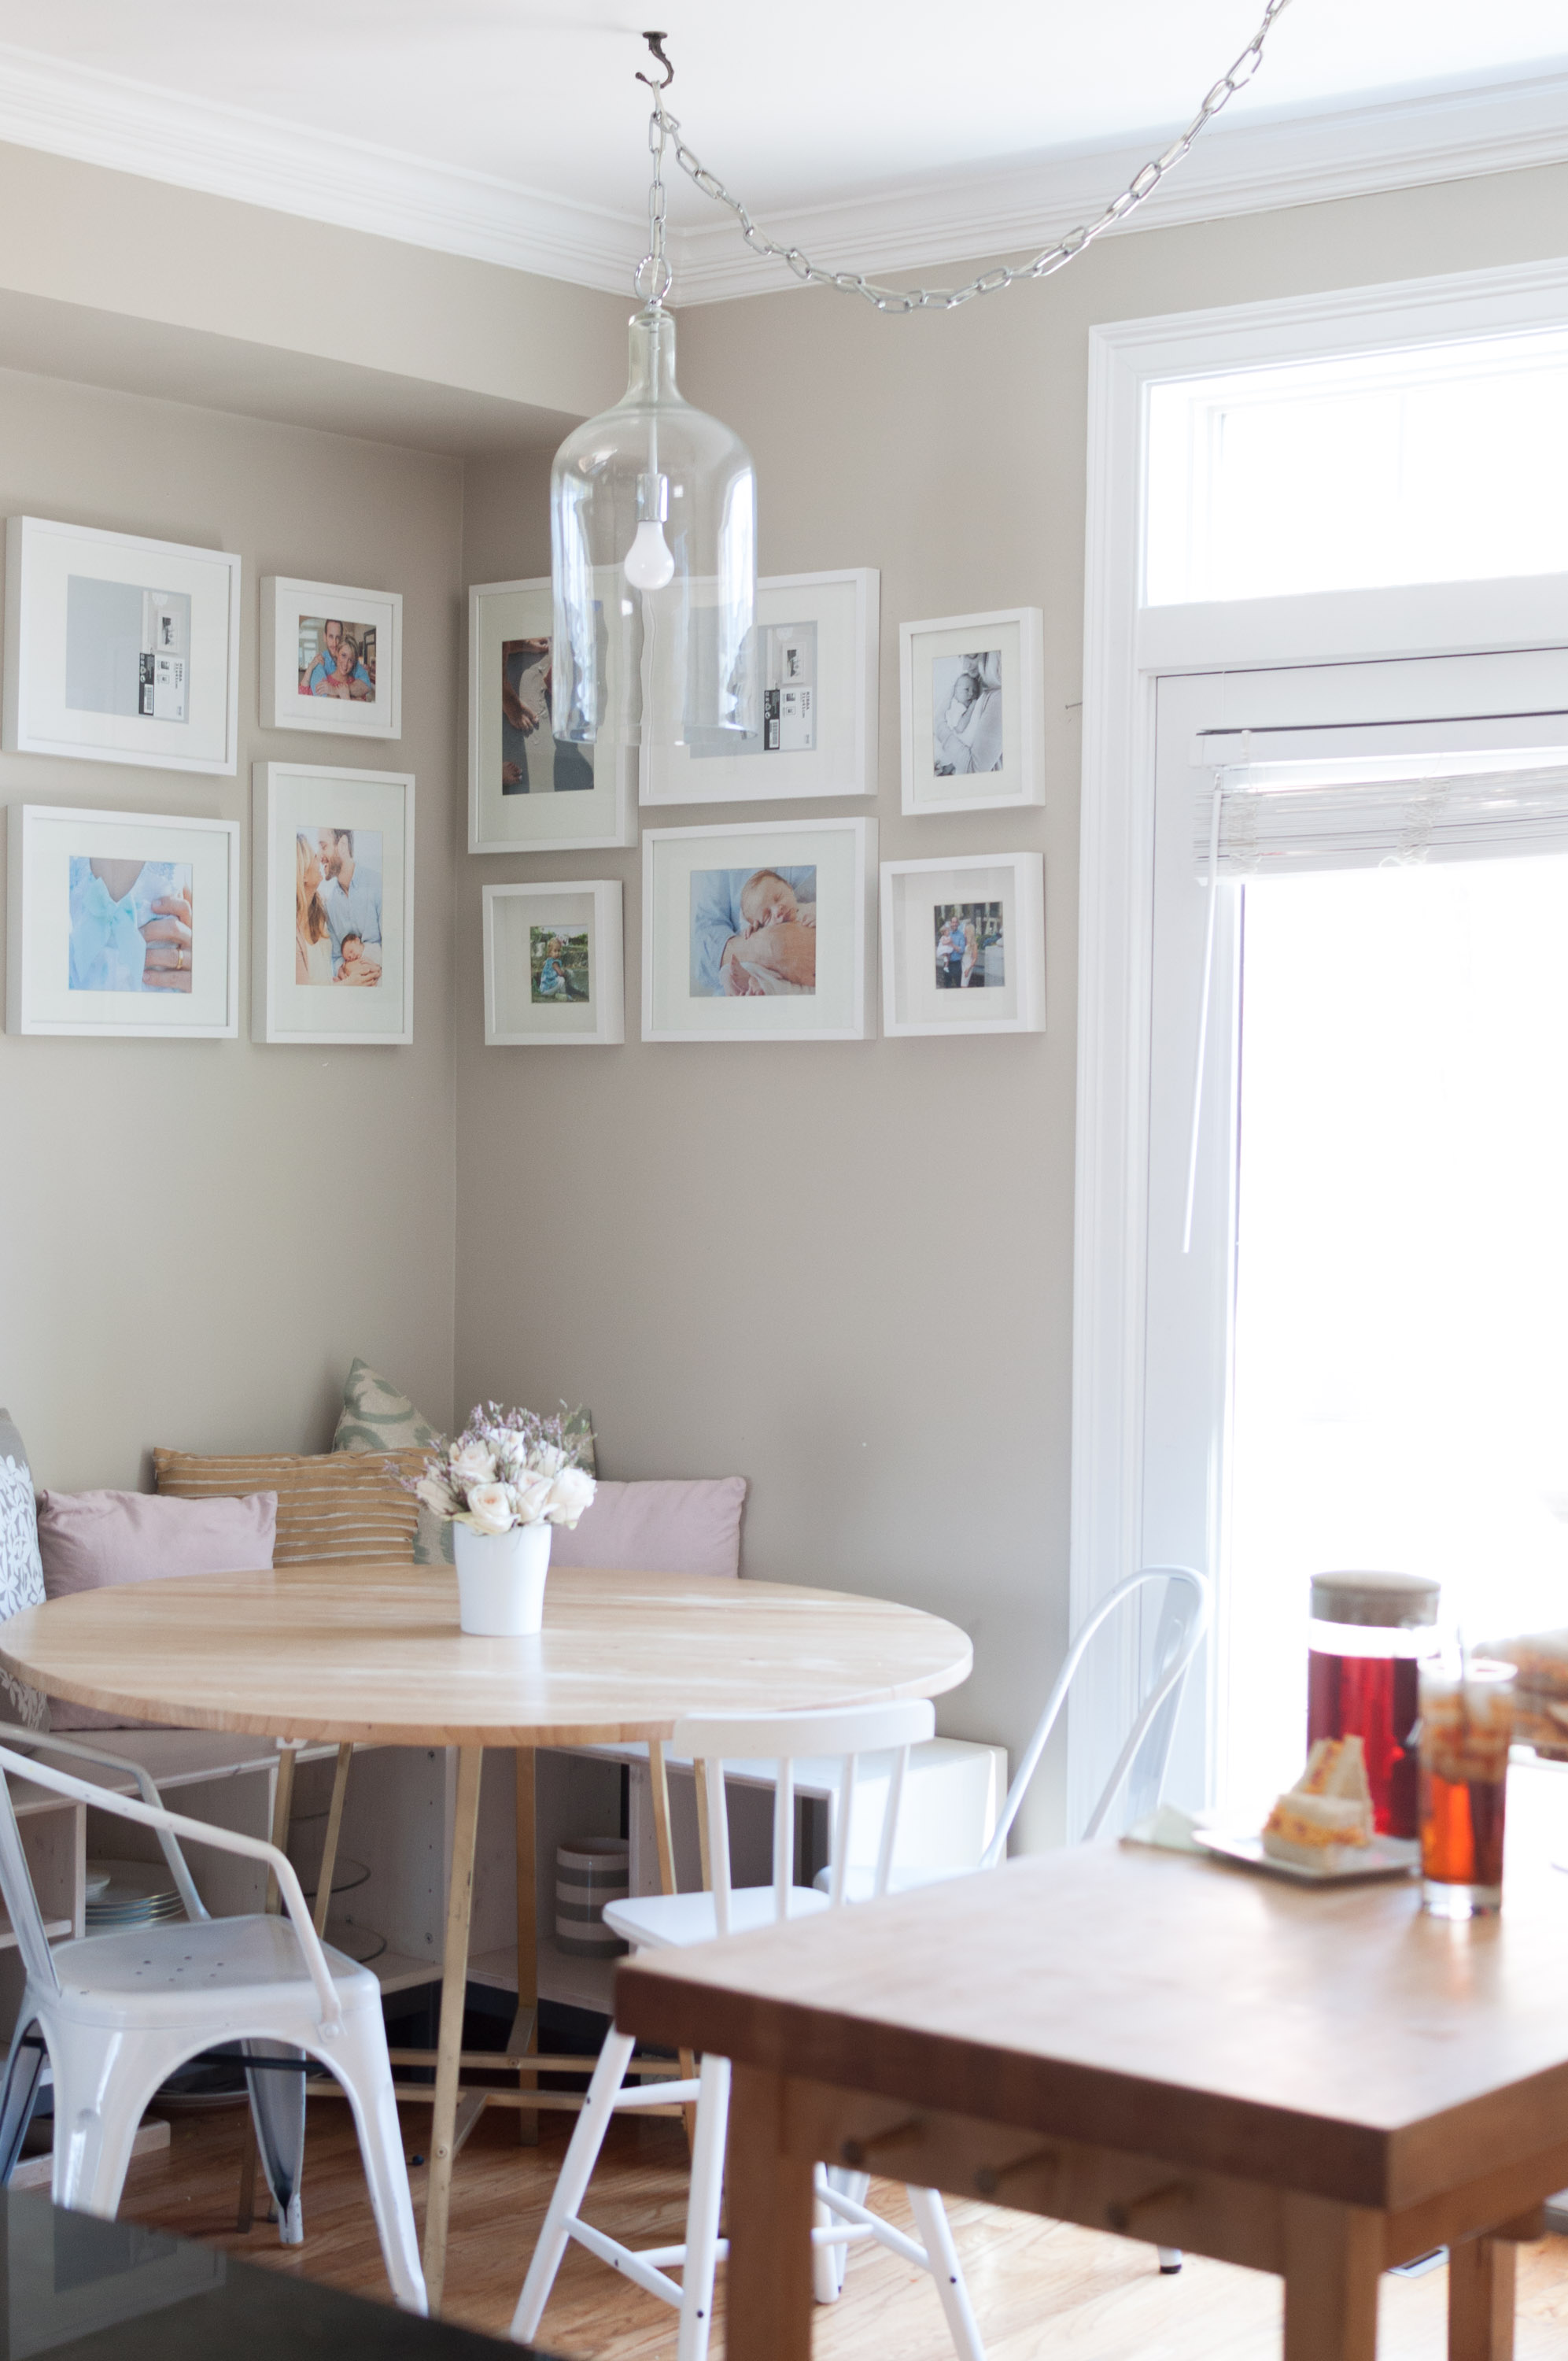
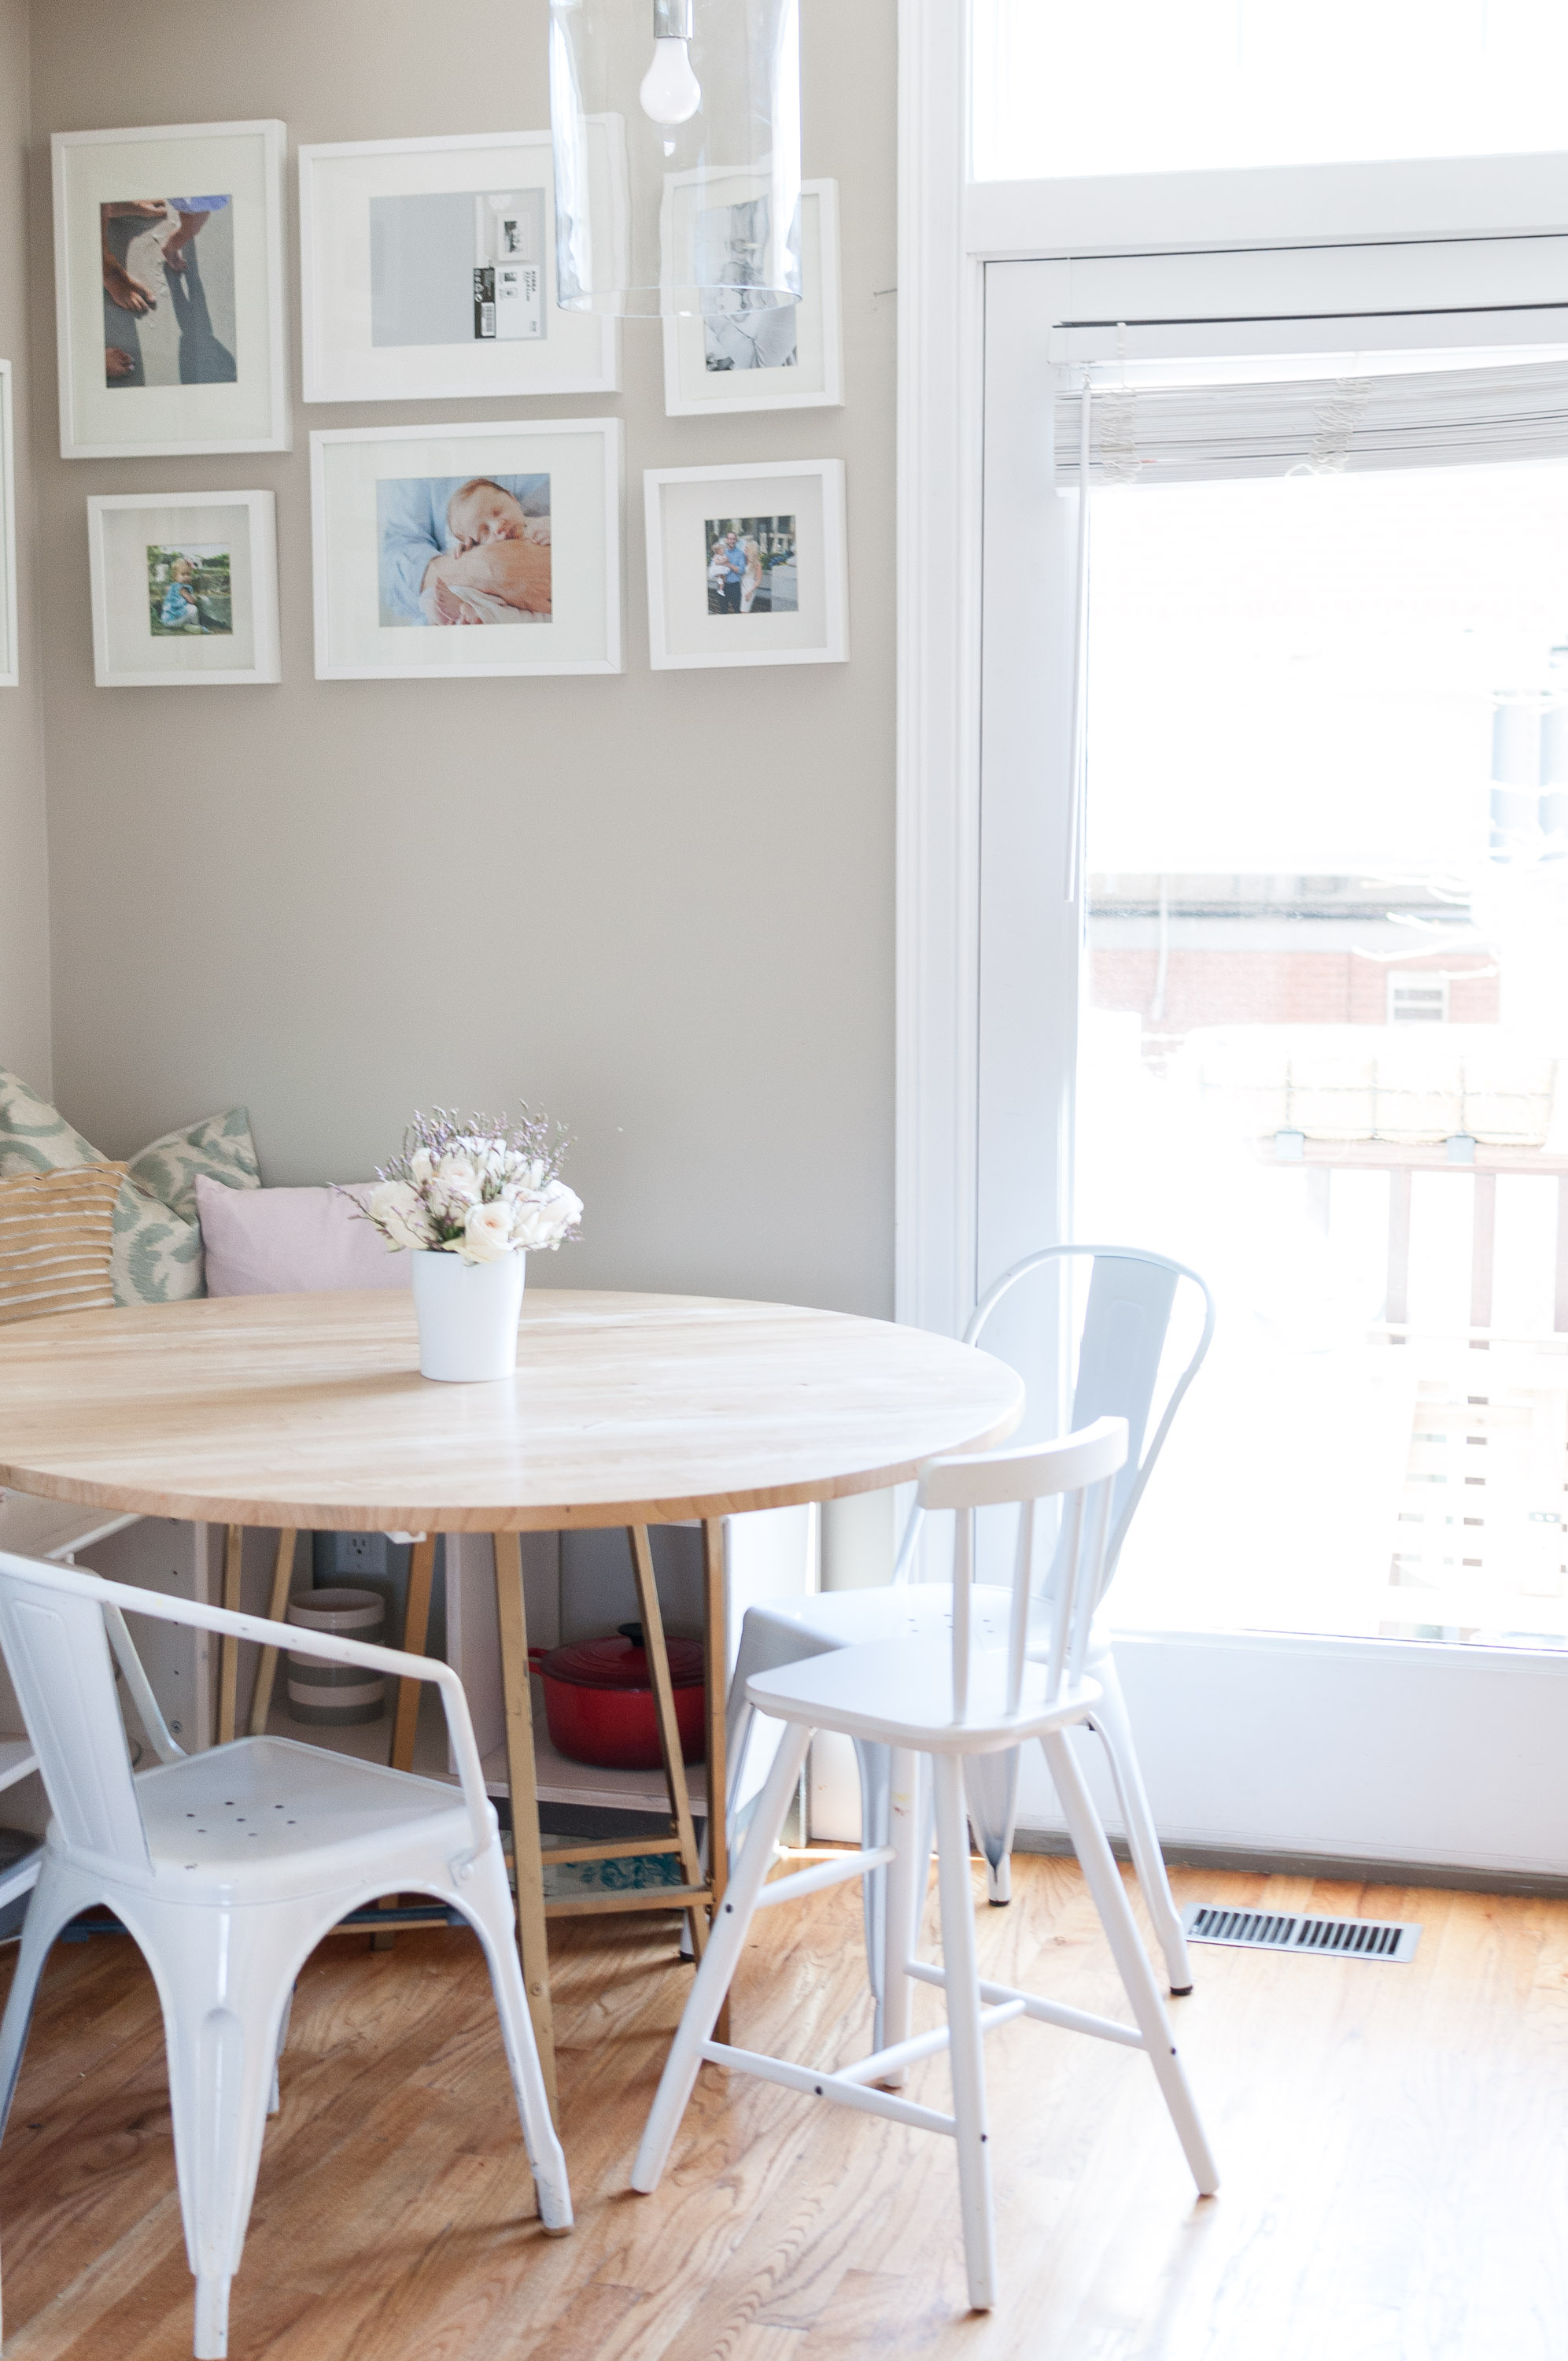
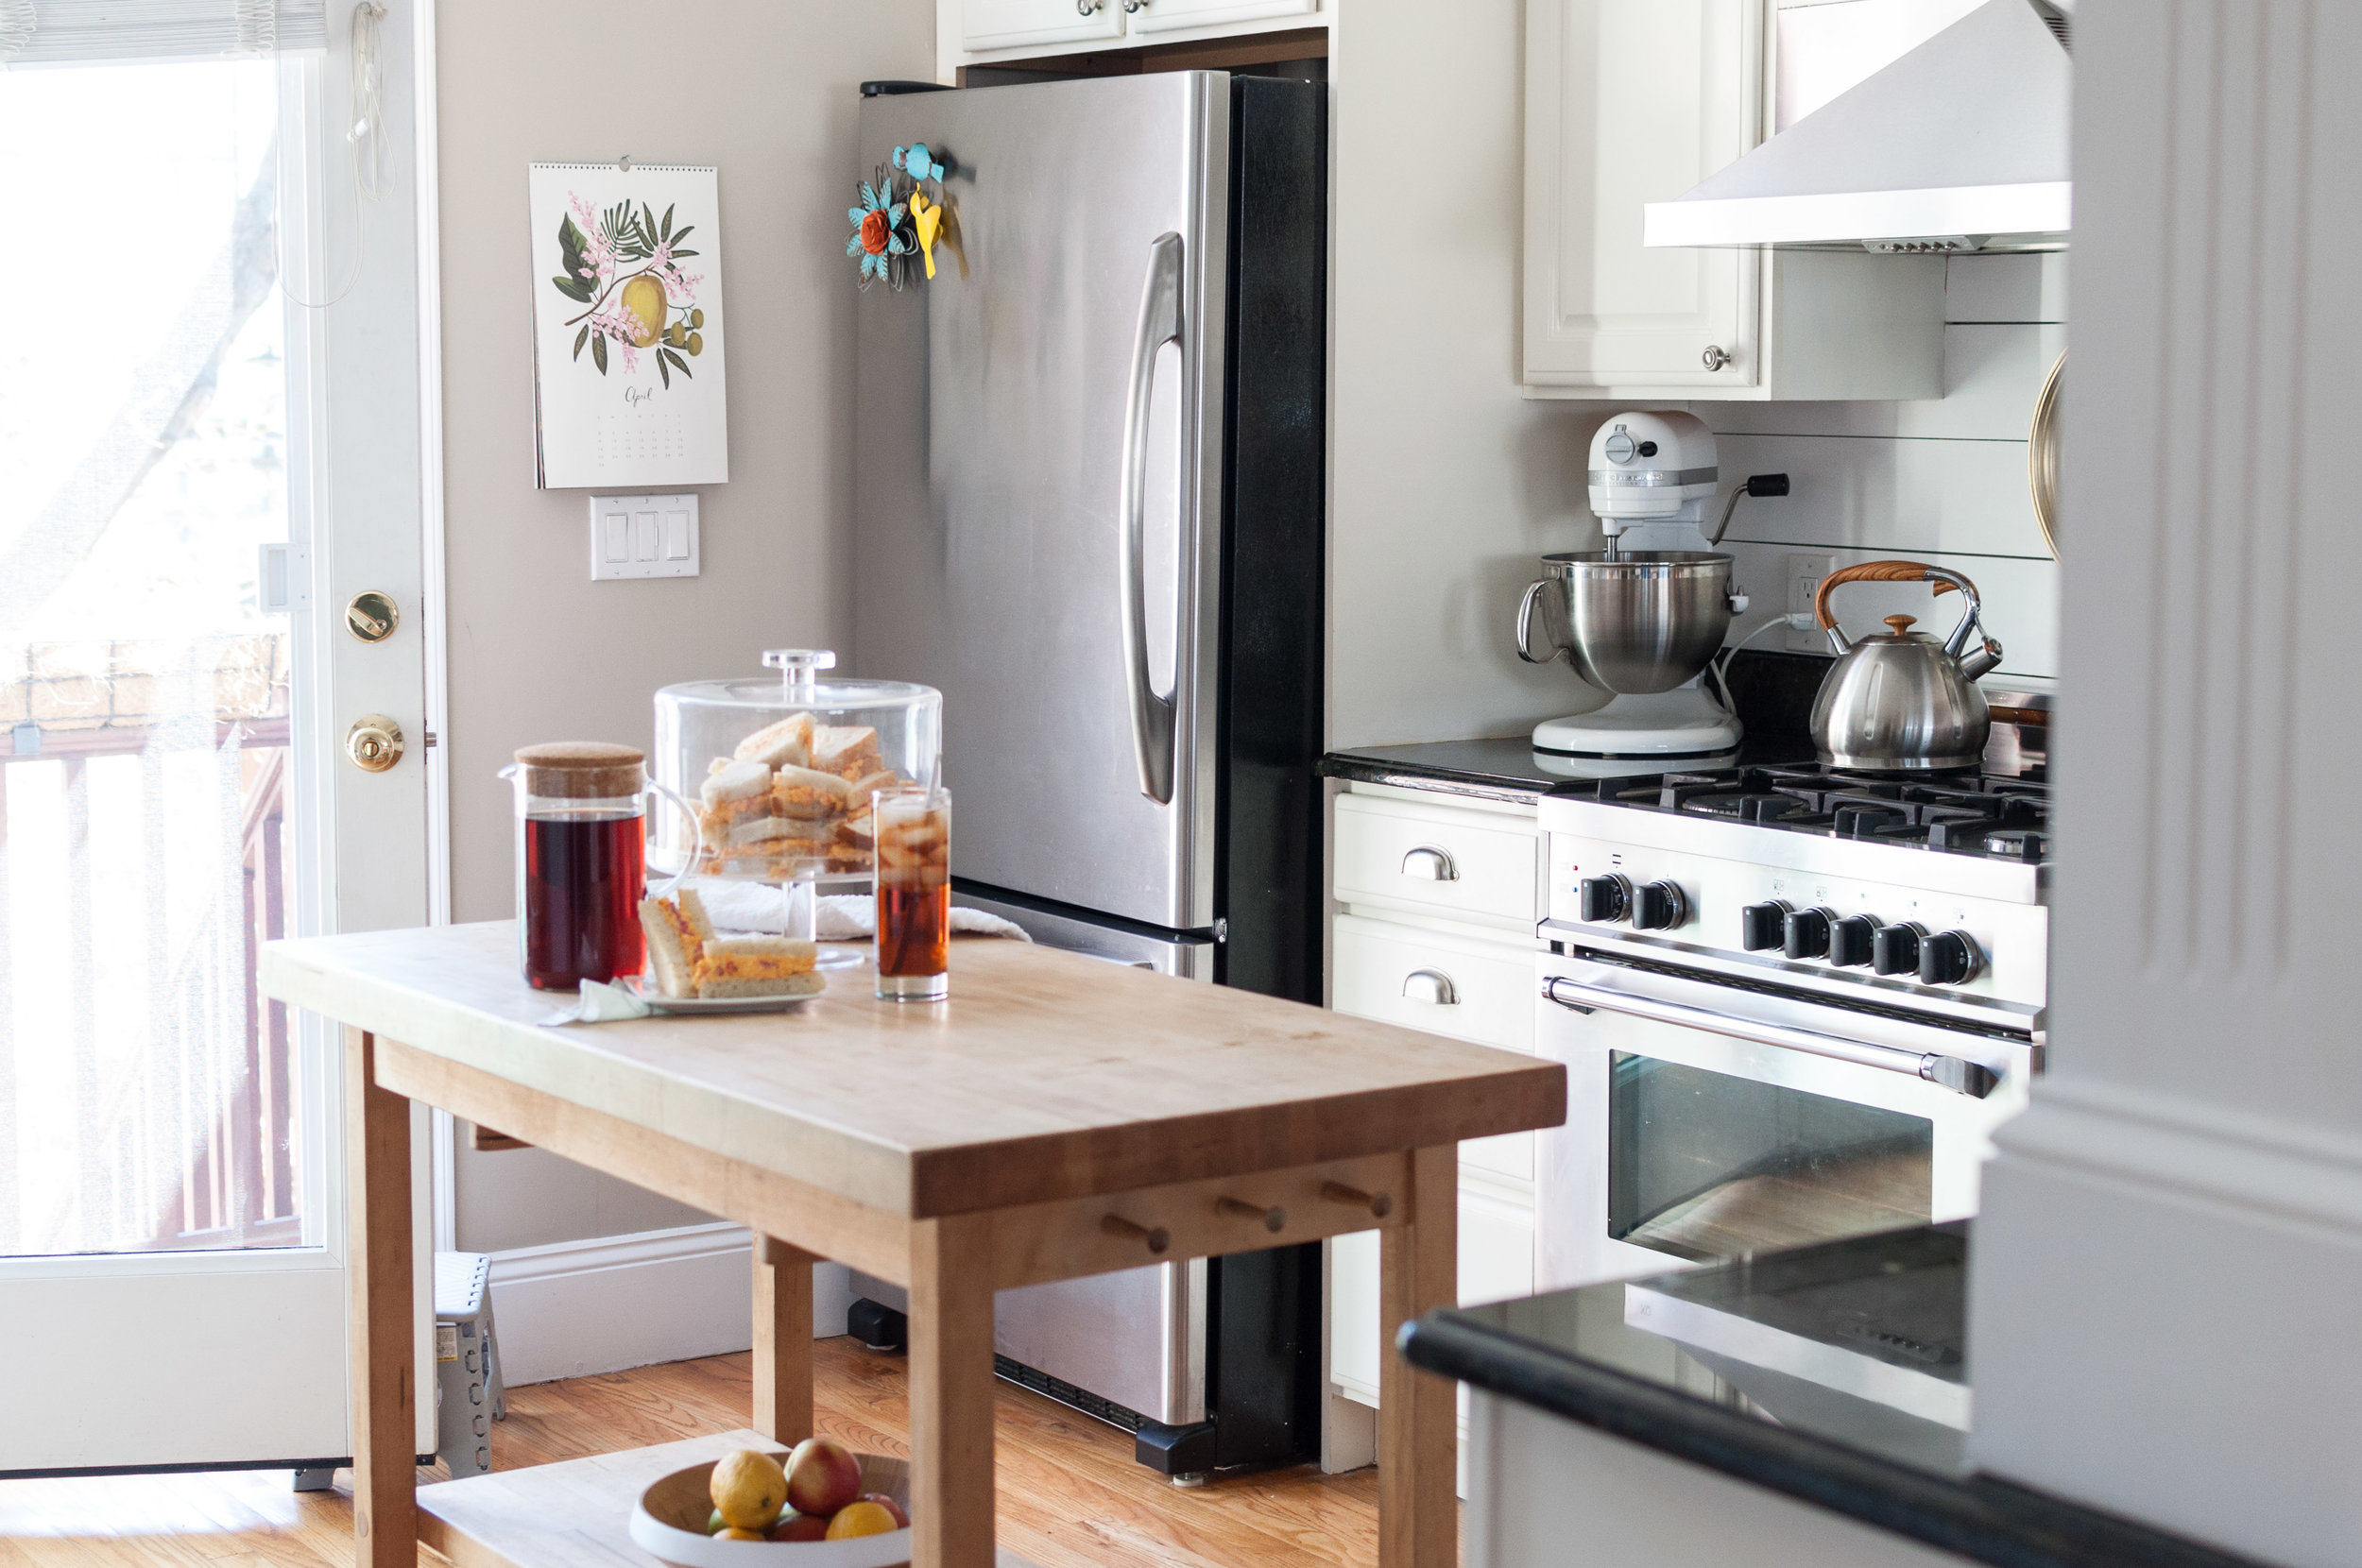
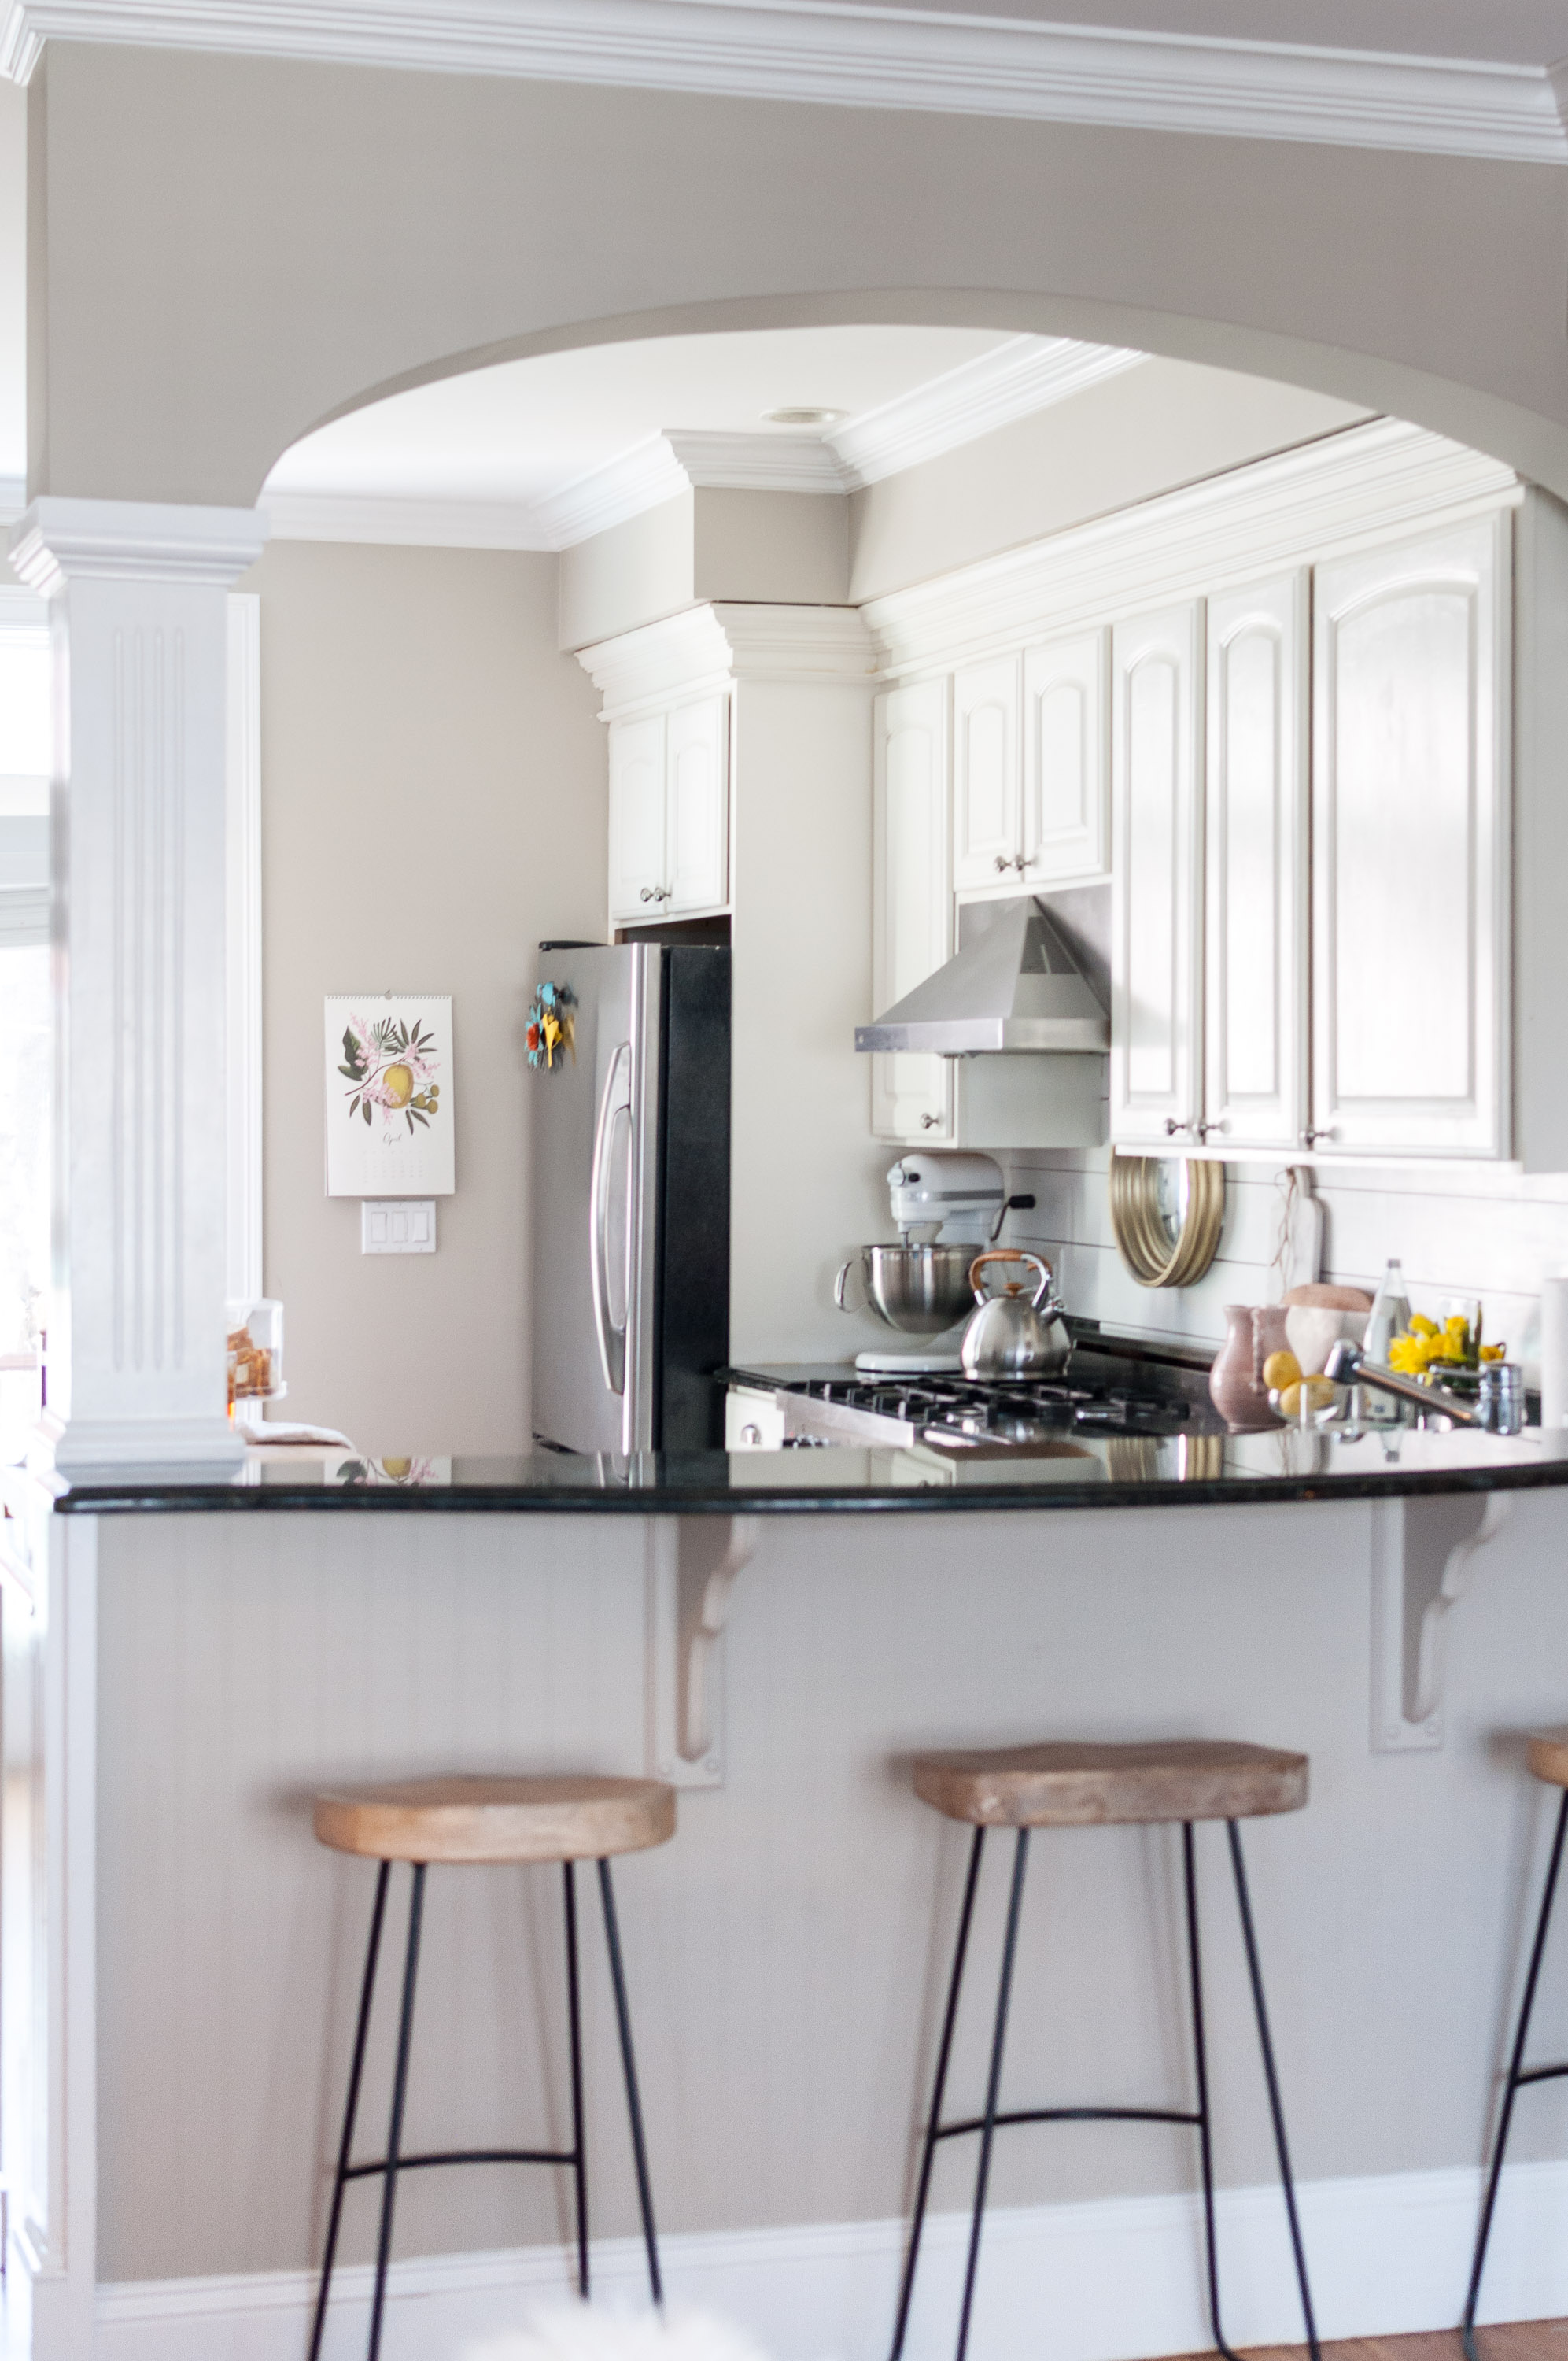
Below are some pictures of different views of our kitchen. The wall gallery in the dining nook has two empty frames, waiting to be filled with pictures of baby girl #2 soon! The benches are from IKEA and i love them as we needed the extra storage. The table is something we made up, between ikea legs and a top we took off another table we had. I'd love a tulip table one day. Bar stools are from Home Goods and were so popular I'm sure you can still find something similar. And the butcher block island is a treasure we inherited from Paul's parents. Paul's mother fondly tells stories of Paul and his brother, Rob, playing/eating at the base of the island when they were little.
A few sources:
white frames / similar benche / table legs / table I want
The only appliance that is ever on our countertops is the kitchen-aid mixer, mostly because I like the way it looks. We store our ninja blender (even though we use it everyday) and cooking utensils in the cabinets below. It helps that our coffee maker and coffee mugs have their own station in between our kitchen and living room. It makes me feel really good to have clean, clutter free counters when I walk into our kitchen every morning.
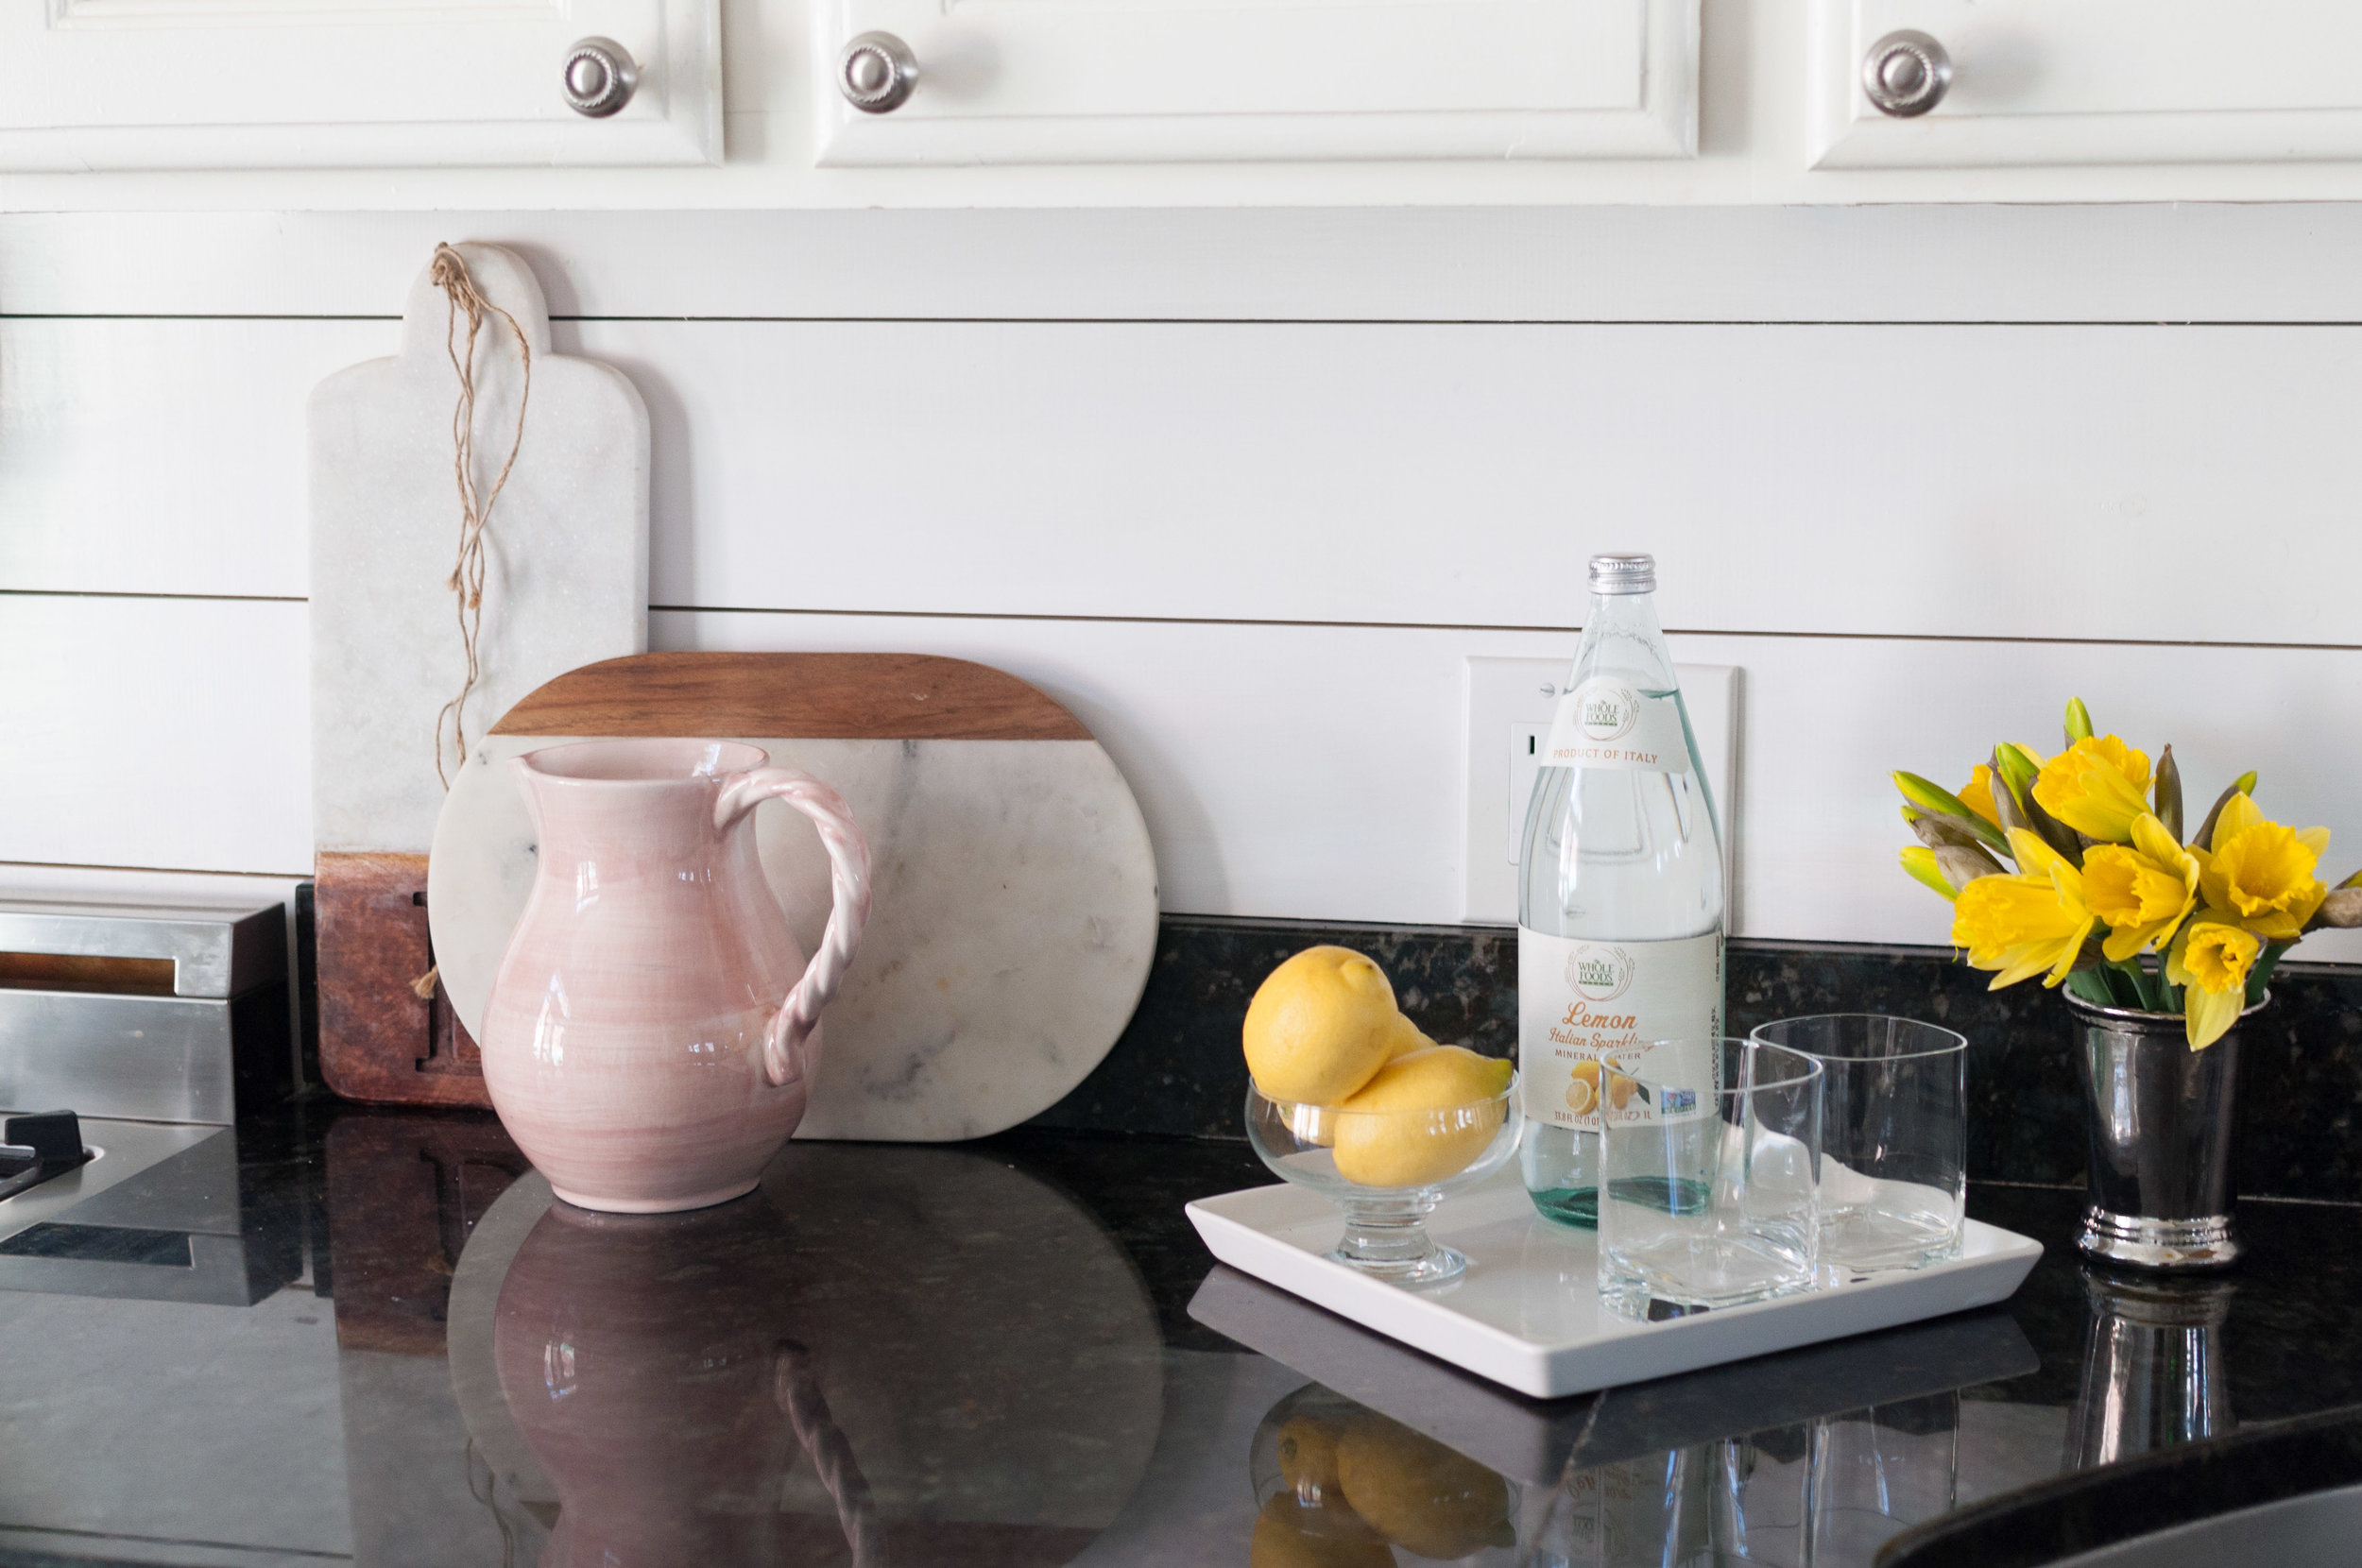
I styled the countertops with a teapot from Homegoods, a pitcher from Goodwill, and some marble cutting boards, one a gift and one from Target. The white tray for the lemons and sparkling water is from Ikea. I didn't buy anything to style the shoot, but instead went around my kitchen rearranging and repurposing. The styling process is so good for me, allowing me to be creative and is actually my favorite part of any blogpost. I encourage you to do the same in your home!
Links for style items:
Cake stand / cork pitcher / similar pink pitcher / similar white tray / tea pot / marble cutting board
Master Bedroom Refresh
We've actually had this bed since November! I'm so happy with the change (before/after pics included in this post!) and I finally got around to styling and photographing it last week. The bedroom is certainly not finished, as you will see, but the improvement so far was worth writing about.
Read MoreFlower Arranging 101
To be honest, I'm a little intimidated to write this post! Similar to a recipe or "how-to" post, I can lay out as much detail as possible, but it will never be the same as doing it with you in person. To simplify things, this post focuses on two basic flower arrangements with some overall tips and tricks along the way.
Some overall points....
- Don't be afraid of the flower! Yes, flowers are delicate, and yes they will bruise/wilt, but they can handle you handling them. :) Make the flower stand the way you need it to by pushing, tugging and twisting the stem.
- If you have been reading my blog or follow me on Instagram, it's clear I have a favorite color palette of white, blush, and a pop of blue/purple/gray. However, some of my favorite arrangements I have made are ones using "different" flowers. Always lean into your style/color palette, but don't be afraid to add something new that you have never used before. For this post I used dusty miller, seeded eucalyptus, peach/pink David Austin Juliette Roses, white & pink standard spray roses, light pink stock, lavender, carnations, and anemones.
And now to the 101s...
Where to Purchase:
Most wholesale flower shops only sell to licensed florists. If you don't have any connections in the floral industry, there's still hope! I buy from Trader Joe's, Whole Foods, Costco, and Kroger (for my southern friends). They all have great selection of standard flowers such as hydrangeas, roses, seeded eucalyptus, and carnations. Carnations have gotten a bad rep as a flower to buy or give, but they are wonderful in arrangements.
Prep, Clipping, & Preserving:
As soon as you get home, you should clip the stems and place them in fresh cold water with flower food. This should be the first thing you do, even before you unload the cold groceries! Depending on when you want the flowers to open up will determine when you strip them of their greens and separate them. I purchased the flowers in this post on Tuesday morning, but didn't want to arrange them until Friday. I kept them in their packaging and in a cold dark room until Thursday night. The day before/or day of arranging is the best time to unwrap them, strip them of all leaves/thorns, and place them in a new container with fresh water w/ food. {as pictured below}
As I mentioned in an Instagram post, sometimes the flowers style themselves. Don't be afraid to let that happen and go with it! Both the picture above and below were taken after I had simply unwrapped, stripped the stems, and placed the flowers in a new container.
Large Arrangement:
Begin with a shallow container with a wide opening. A trick of the trade is to create a weave over the top of the container with tape. I would suggest using clearer, thinner tape than what is pictured, but as you can see, any tape works. Try to cut the tape so that it barely wraps over the edge. You never want your "mechanics" to show in the flower arrangement. This includes oasis, wire, and floral tape.
Start adding the greenery around the outside edge and continue to work your way to the center. I inserted the stems at a very hard angle. Clip as much greenery/leaves/stems as needed to get the stem good and secure.
Small Arrangement:
This technique can be used for a bouquet or a small arrangement as pictured. The idea is to arrange the flowers in your hand and then place them in a container. Move the flowers around, add more, add less, this is all about how big you want the bundle to be.
Once you have the flowers styled the way you want, measure the stems next to the container and cut. Tip: always cut a little long at first, and then little by little, continue to shorten the stems to get the correct height.
I usually end here, but because my mom had flower tape, I wrapped the stems to give the arrangement a more stability.
This type of arrangement is great for a smaller space such as a gift/cake table or placed amongst a spread of food. This is the size I most commonly have around the house - including on my bedside table as a warm welcome to the day in the mornings!
Single Stem Arrangements:
The idea is so simple, yet it has a big impact. You can place them as a group on a table (use an odd number of vases). Also, place them in bathrooms or in small corners that needs a sweet touch. This is a great solution for left over flowers or flowers that were cut too short for another arrangement.
Valentine's Styling Around the House
I love the color pink, always have and probably always will. So naturally, I really enjoy styling our home in the month of February. I have to demonstrate some restraint when it comes to adding the color in our house - I have yet to use a pink rug in our house, although I think they are fabulous!
This year I went up into Roswelle's room and grabbed a few pink things that would transition well throughout the main floor - a frame, a throw, and some of her books. I grabbed a few candles and bowls from the attic which gave me a good start for styling. The only purchase made this year was the wool garland from Target which I laid on our new storage bench as well as some roses with a pink hue.
It really doesn't take much to make your house festive, I hope you feel inspired to give it a try!
xoxo


Roswelle and I are going to make her Valentine's cards with some stickers (which I've used as a decorative confetti on the kitchen table this week), markers, and craft paper. I may even take a stab at making some paper garland for our mantel.

Transitions in Toddlerville
***Thank y'all so much for all the love on Tuesday after we announced our news of baby on the way. It means so much to feel the love after sharing something we care so much about!
Roswelle has been killing it in the toddler transition department, lately. She potty trained like a pro the first week of January and last week transitioned to her "big girl bed" without skipping a wink of sleep. The last significant transition on the list is letting go of the beloved pacifier. She only has it while sleeping, but man does she covet that thing. I've received a lot of tips on how to convince her to let it go, but for now we are just going to take a breather on the transitions.
One thing I have noticed is that with each positive development, other not-so-positive (but probably essential) developments, rear their heads. Almost simultaneously after moving to her toddler bed, she started saying "
but I don't want tooooooo
" or "
but I want it
!!!" in regards to anything and everything. This is all new and requires a lot of time-outs, unfortunately. There is always a ying to the yang I guess. Ahhh the joys of being THREE!
Anyways, back to the point of this post - Roswelle's new toddler bed! I saw this bed on another blog and immediately knew it was the one. I clicked on the source link and was shocked to be directed to Ikea!? While my mom was in town last week, we made the trek to Ikea - never go alone, y'all.
Since I know baby #2 is a girl, I'll be leaving the pink and lace curtains, as well as the chandeliers. Sources are at the end of the post. Have a great Thursday!


Things I'm Lovin' - Home
It's Tuesday! Which means another installment of Things I'm Lovin'. Today is all about the Home. Some items are primarily for decoration; however, most are things that have made my home life easier and more enjoyable.

1.
All hail the STEAM MOP! A great alternative to the messy, dip & rinse yarn mop, or the questionable cleanliness of the swiffer wet-jet (which I have been using for years); the steam mop provides a deep down clean without the use of chemicals or detergents. After it's been used, simply pull off the cloth cover and toss in the washing machine. I use the mop all over the house - on the hardwood, the bathroom tile, and even the bathroom tub.
2.
I'm partial to decorating with whites, grays, creams, and neutrals but I have been leaning into the idea of intentional dark colors to compliment all the lightness. I've found that the best way to add some much needed depth is through the clean lines of a simple, black frame. I'm planning to put 3 of these large square frames above our master bed. Now I just need to decide on what will go in them...
3.
All I need to say is this dust buster
actually works
. It has a simple and sleek charging stand and is my go-to tool for the inevitable messes in the kitchen or after I blow dry my hair in the bathroom.
4.
I don't own one personally, but I have gifted the ceramic match holder/striker after seeing it on multiple gift guides prior to Christmas. A great addition to any side table or bathroom vanity and removes the need for having matches next to the candle. If you order the match holder, don't forget to order "strike
anywhere
" matches off amazon.
5.
I bought this for soap in the shower and after reading the back of the label listing all of the other uses, we have quickly started using it all over the house: Dish soap, tub/bathroom cleaning, and even a vegetable cleaner.
6.
Believe it or not, throws are hard to find in king-size, or even queen size for that matter. That's why so often you will see them draped over the corners of larger beds in pictures. The king blanket I've linked isn't necessarily a throw, but it comes in a great pattern, multiple colors and is thin enough to be casually placed at the end of a bed. My mom also has a great tip - a twin sized quilt is the perfect size for the end of a King bed.
7.
My favorite way to kick off the new year is with a Rifle Paper Calendar! The notable artwork each month is both uplifting and fitting to the mood I feel with each month's weather and festivities.
8.
I've used this board over and over again. Photographing food; a tray for flower, matches, and a candle; a pretty addition to any bathroom vanity; or even for its intended use as a cheese tray or hummus platter.
9.
Everyday Co Linen Dinner Napkins:
A local company born in Boston, the linen napkins are meant for everyday use in replace of paper napkins. Many of us save such a napkin for special occasions or dinners, but wouldn't it be nice to treat every meal, every day, as such? I have yet to buy myself a set, it's on my list, but have gifted the dinner napkins three times!
10.
My favorite coffee maker. I prefer this sleeker look to some of the other bulkier options out there. It's also available in white!
11.
Not something I use every day, but you could! It always fun to have something extra special when having girlfriends or family over to the house. I was gifted this milk frother by my sister-in-law; it adds a bit of elegance to my coffee bar and is a fun addition to offer with coffee!
12.
Baskets have become something I use everyday - a place for fruit & vegetables, on the stairs for odds and ends, holding towels in the linen closet, or a place to gather throw blankets in the living room. A basket makes any collection of clutter look intentional, even stylish! This specific type of basket, an African Market Basket, with a giving bowl and a leather bound handle, is something I'm currently seeking. I've been seeing them pop up all over blogs and even spotted one in this month's Real Simple Magazine.
I've loved putting these lists together so much that I'm currently planning to write a 4th installment: Things I'm Lovin' - Toddler Life!
